JumpCloud SAML Integration
This Caddyfile
contains the configuration for the SAML integration.
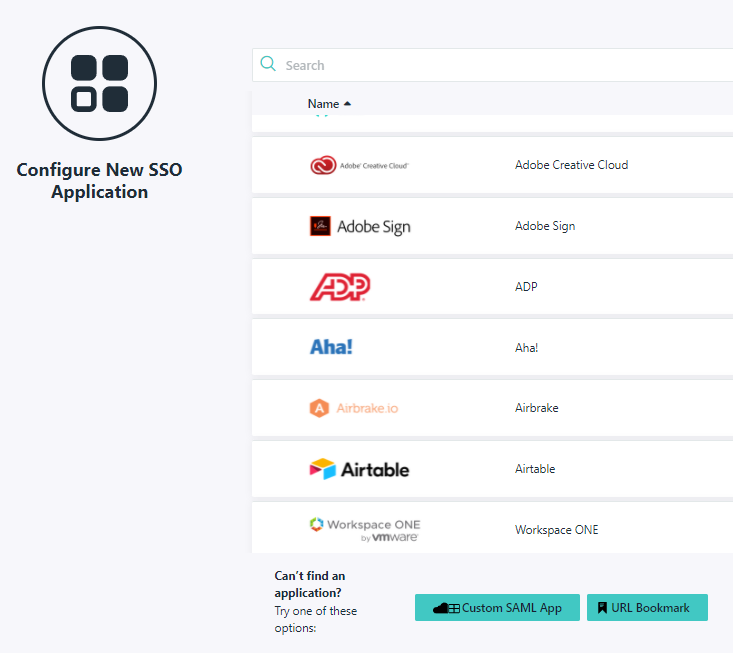
First, browse to "User Authentication | SSO" and create a new application.
Select "Custom SAML App".
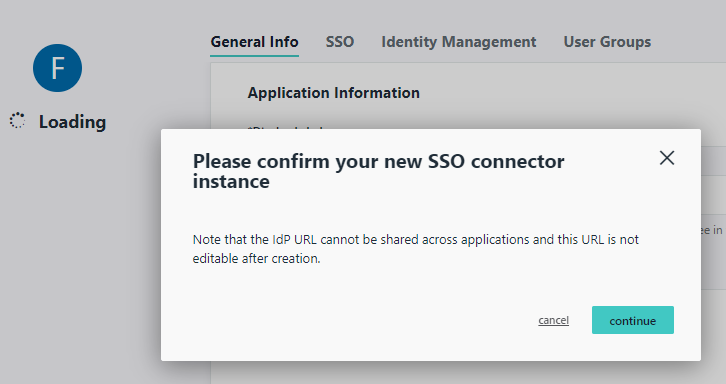
Confirm new SSO connector instance.
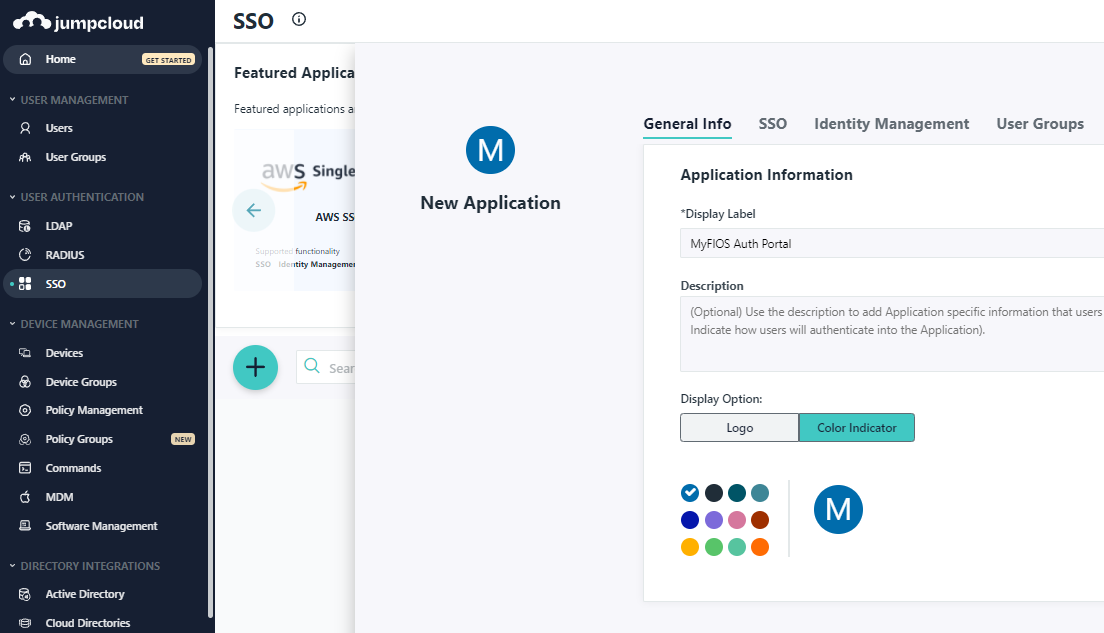
Provide app name, e.g. "MyFIOS Auth Portal".
Next, provide IdP Entity ID and SP Entity ID values. Here, urn:auth-portal.
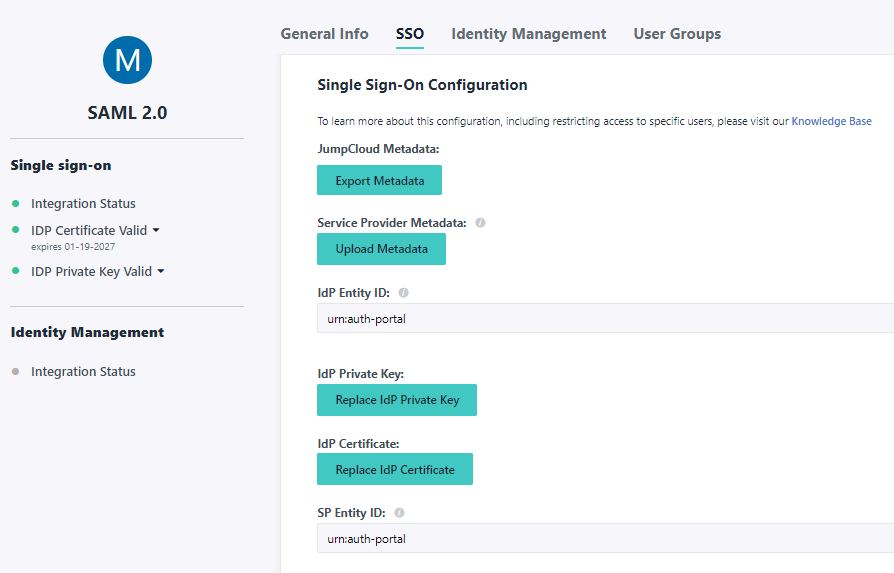
Then, provide the following:
- ACS URL:
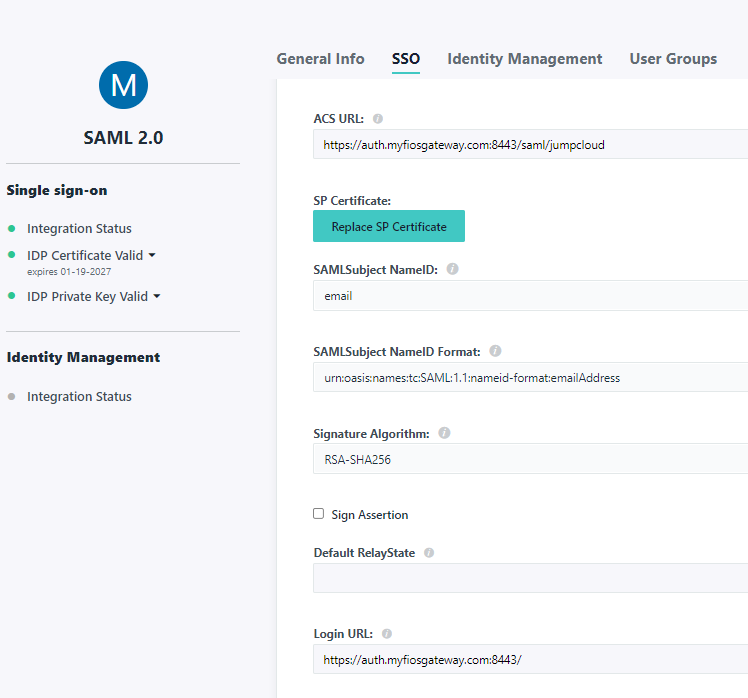
https://auth.myfiosgateway.com:8443/saml/jumpcloud - SAMLSubject NameID:
email - SAMLSubject NameID Format:
urn:oasis:names:tc:SAML:1.1:nameid-format:emailAddress - Signature Algorithm:
RSA-SHA256 - Login URL:
https://auth.myfiosgateway.com:8443/
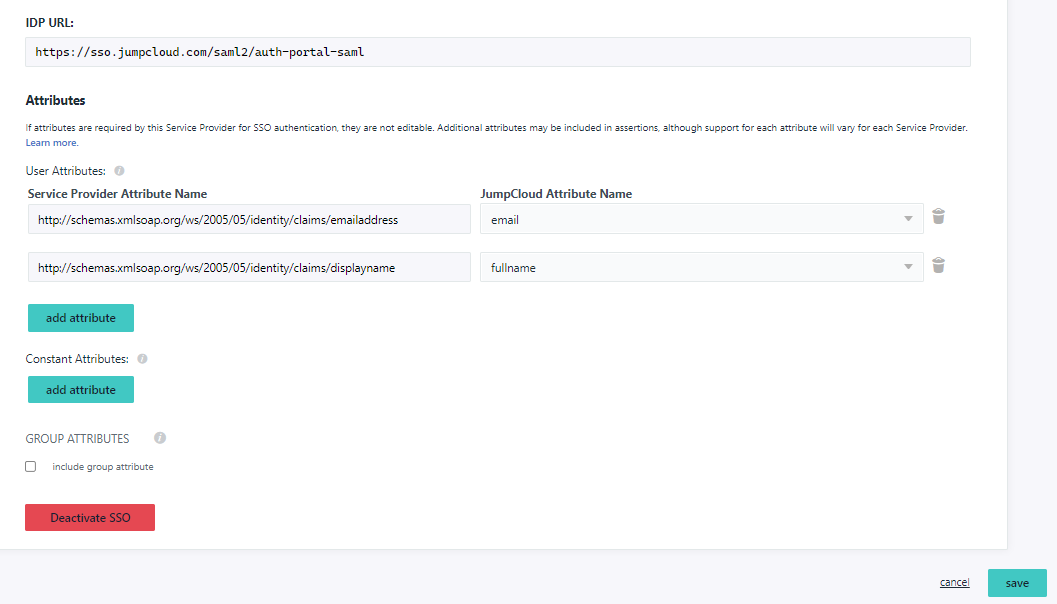
Next, provide IDP URL: https://sso.jumpcloud.com/saml2/auth-portal-saml
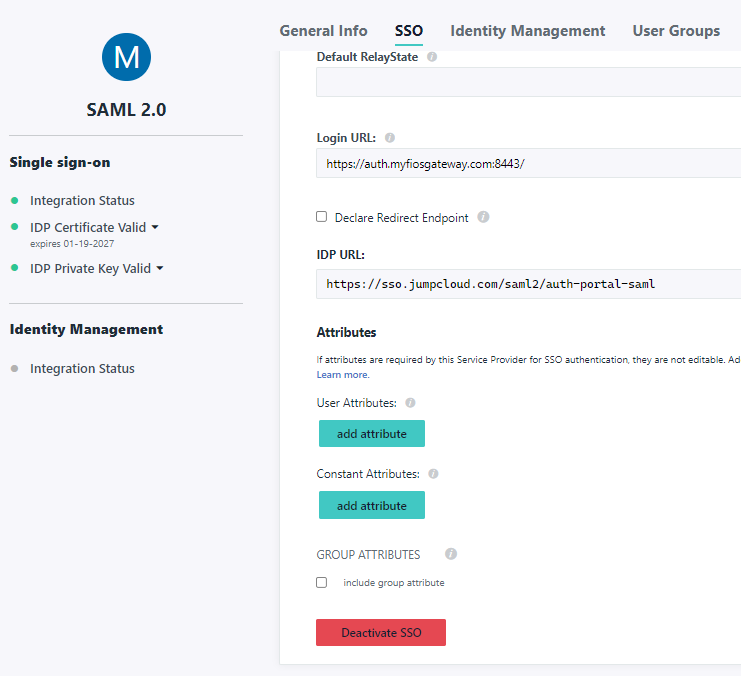
Finally, add User Attributes.
http://schemas.xmlsoap.org/ws/2005/05/identity/claims/emailaddress:emailhttp://schemas.xmlsoap.org/ws/2005/05/identity/claims/displayname:fullname
After saving the configuration, browse back to "User Authentication | SSO".
Re-enter the application, browse to SSO and download JumpCloud Metadata.
This would be the JumpCloud-saml2-metadata.xml file referenced in the config.
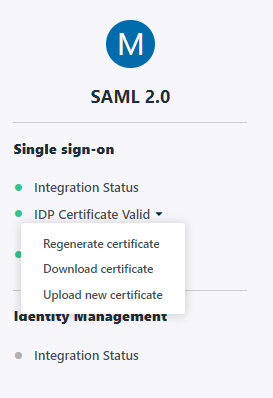
Additionally, while in the app, click "IDP Certificate Valid" and "Download certificate.
This would be the certificate.pem file referenced in the config.
The setup is now complete.
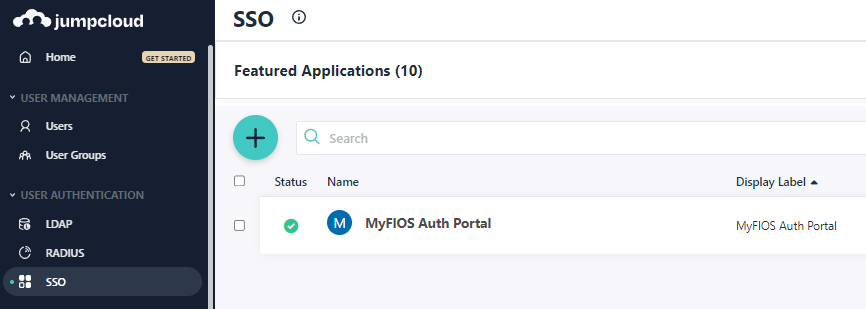
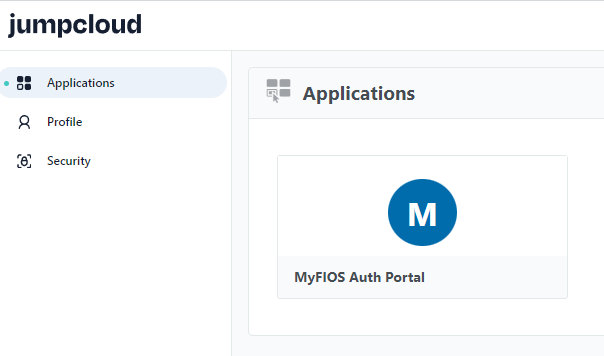
When a user accesses Jumpcloud user portal, the user sees the new app in the list of application.