Okta
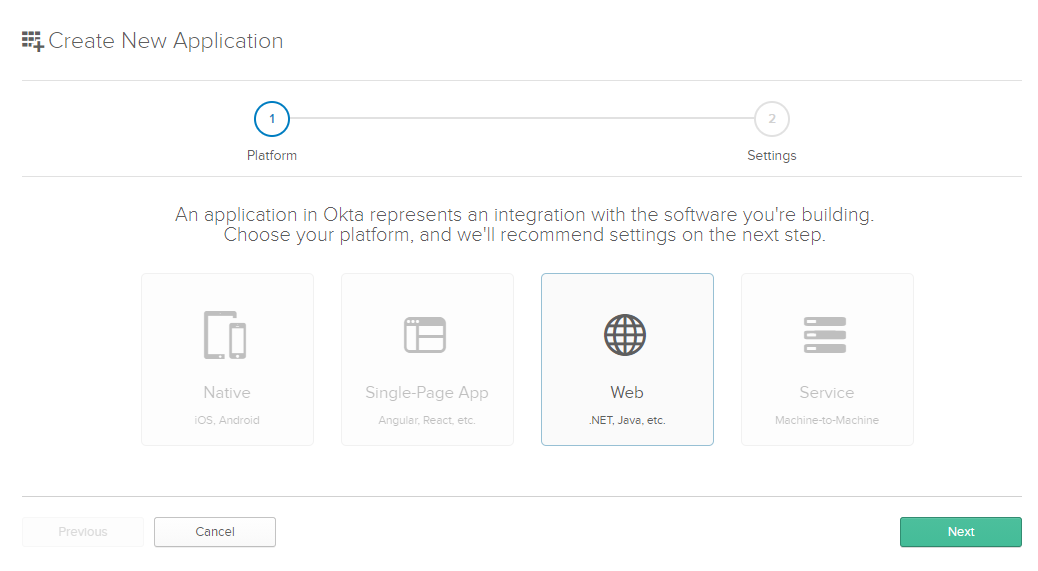
Create an "Application," by browsing to "Applications" and clicking "Add Application" button.
For a website, the choice is "Web".
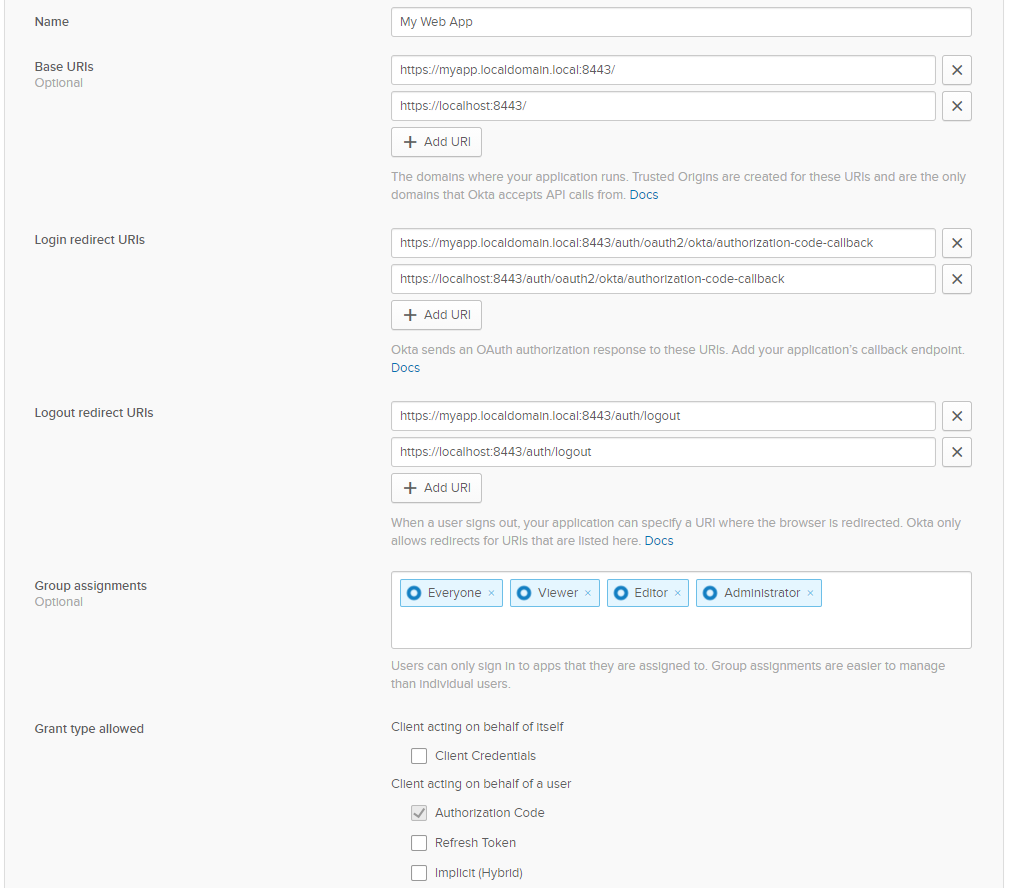
Provided your application is running on localhost port 8443, provide the following information:
Base URI entries:
https://myapp.localdomain.local:8443/https://localhost:8443/
Login redirect URIs:
https://myapp.localdomain.local:8443/auth/oauth2/okta/authorization-code-callbackhttps://localhost:8443/auth/oauth2/okta/authorization-code-callback
Logout redirect URIs:
https://myapp.localdomain.local:8443/auth/logouthttps://localhost:8443/auth/logout
Group Assignments:
- Everyone
- Viewer
- Editor
- Administrator
Grant type allowed:
- Client acting on behalf of itself
- Client Credentials: No
- Client acting on behalf of a user
- Authorization Code: Yes
- Refresh Token: No
- Implicit (Hybrid): No
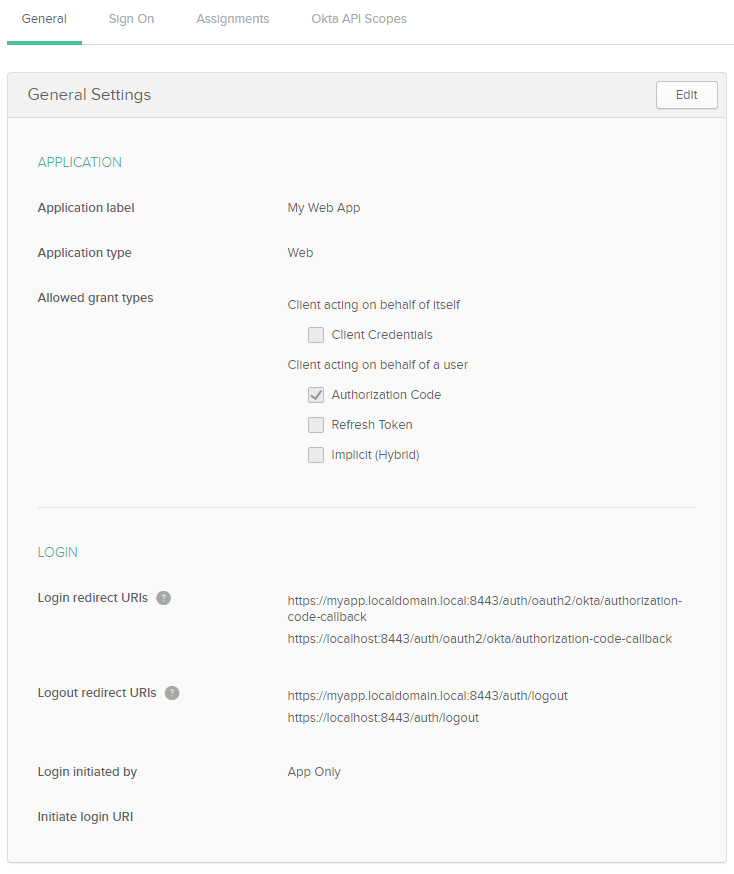
Review the newly created application.
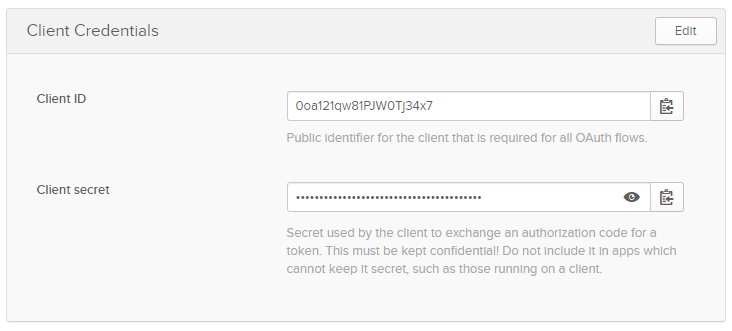
Store the credentials securely.
Review default Sign On Policy.
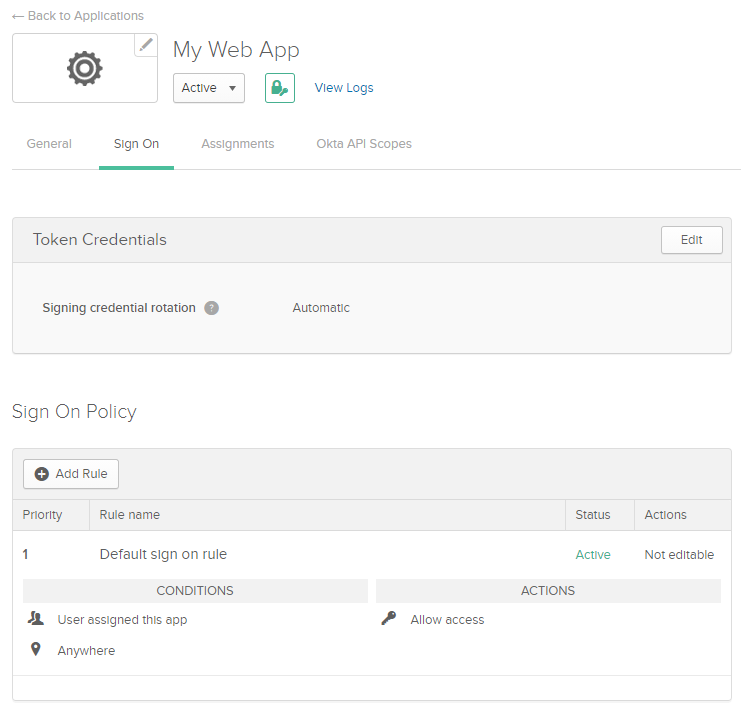
By default, the default Authorization Server has no groups scope.
Therefore, browse to "API", "Authorization Servers" and select "default".
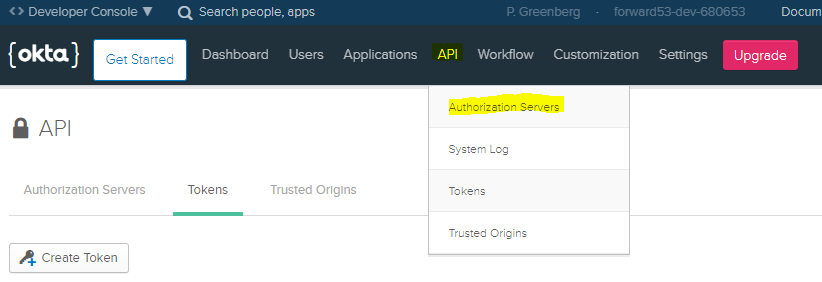
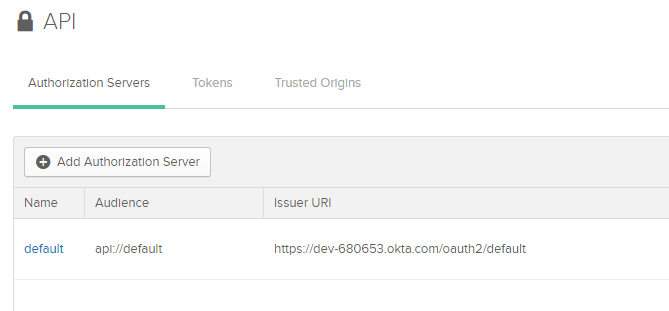
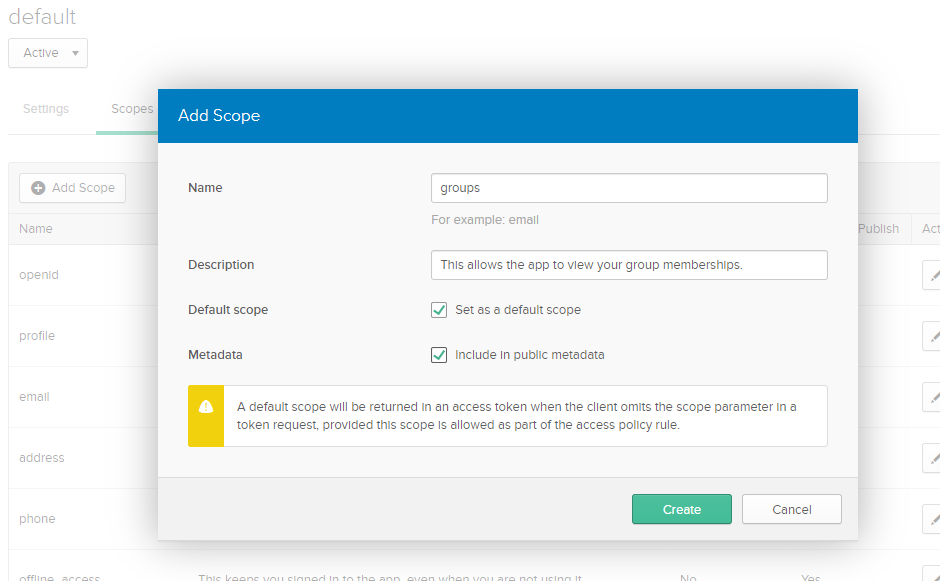
Next, browse to "Scopes" and click "Add Scope".
Fill out the "Add Scope" form:
- Name:
groups - Description:
This allows the app to view your group memberships. - Check "Set as a default scope"
- Check "Include in public metadata"
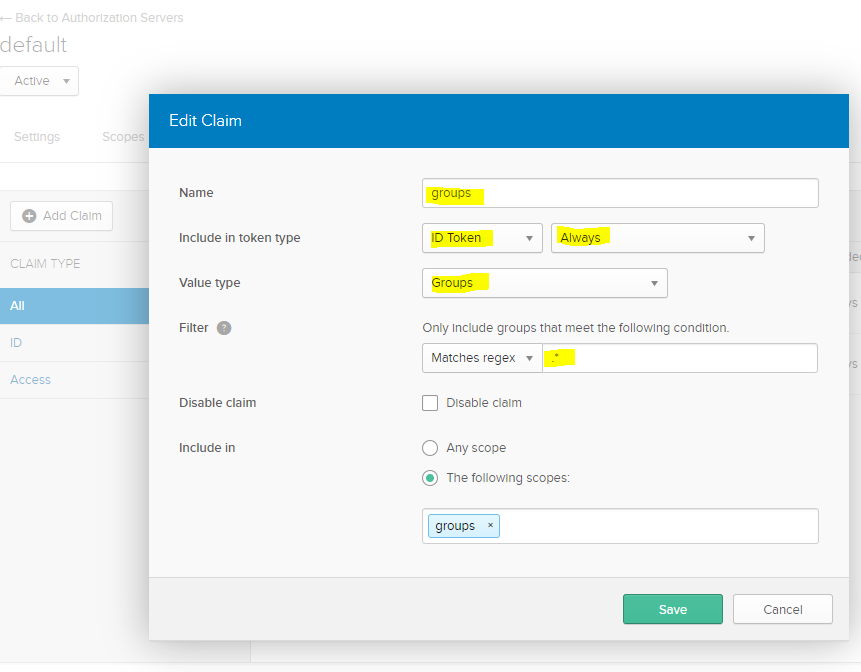
Next, browse to "Claims" and click "Add Claim".
Fill out the "Add Claim" form:
- Name:
groups - Include in token type: "ID Token", "Always"
- Value type: Groups
- Filter: Matches
.*regex - Include in: The "groups" scope
Next, review Okta OpenID Connect and OAuth 2.0 API - Get Started.
The following Caddyfile
allows Okta-based authentication.
Provided the Okta domain is dev-680653.okta.com, the authorization server is
default, and Client ID is 0oa121qw81PJW0Tj34x7, check OpenID configuration:
curl -X GET "https://dev-680653.okta.com/oauth2/default/.well-known/openid-configuration?client_id=0oa121qw81PJW0Tj34x7" | jq
By default, the plugin logs public keys from keys endpoint.