Keycloak
Find Keycloak integration example in the following Caddyfile.
Realm Roles
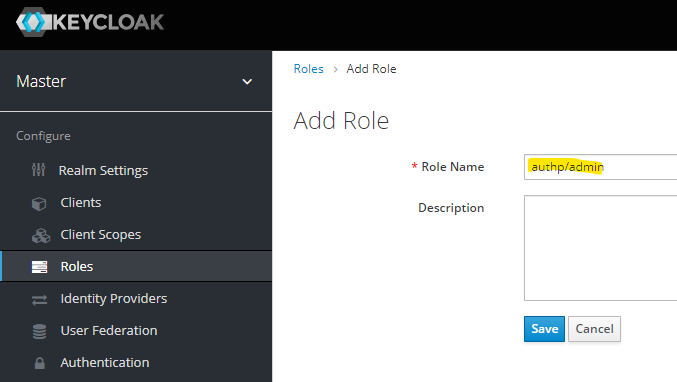
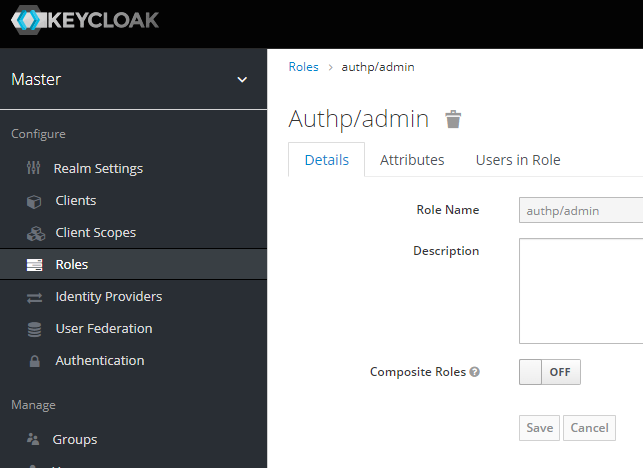
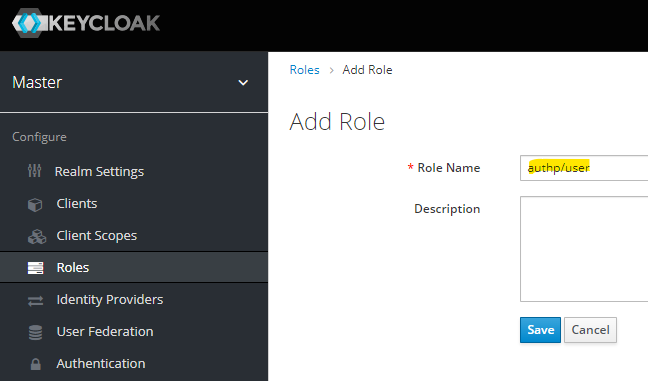
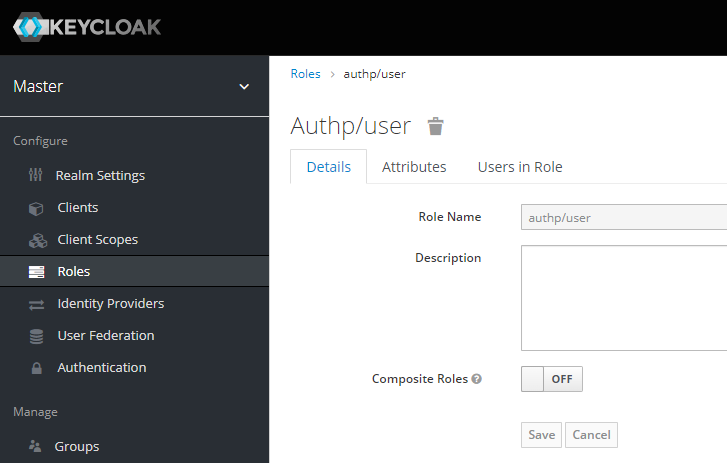
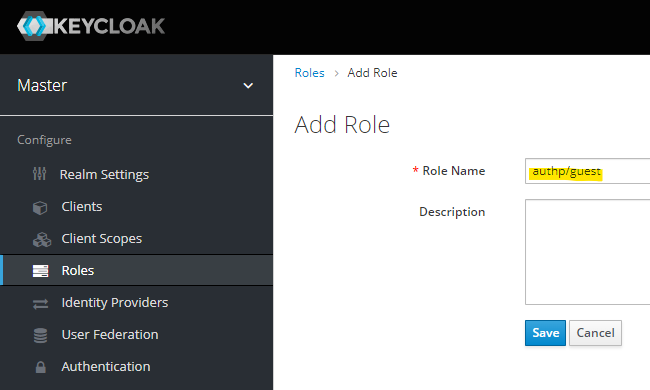
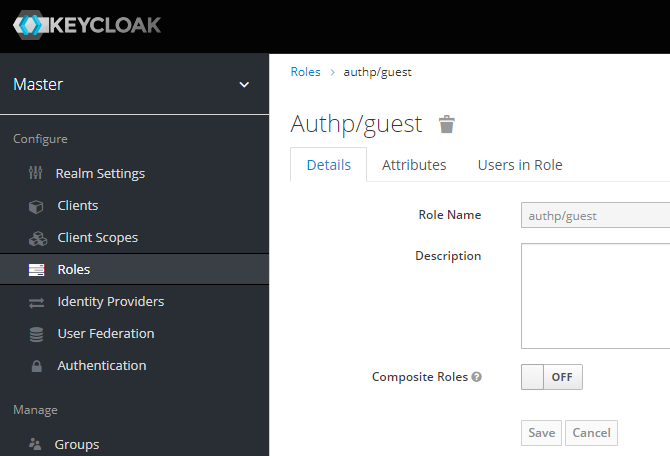
Create a set of roles that will be later mapped to group memberships.
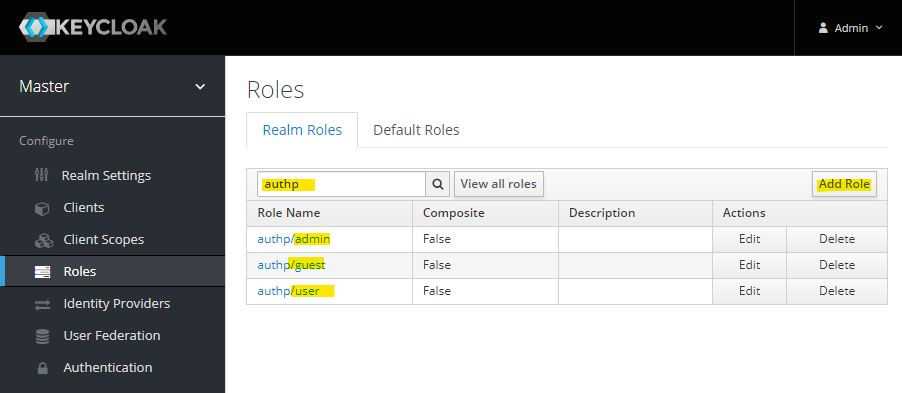
authp/adminauthp/userauthp/guest
Groups
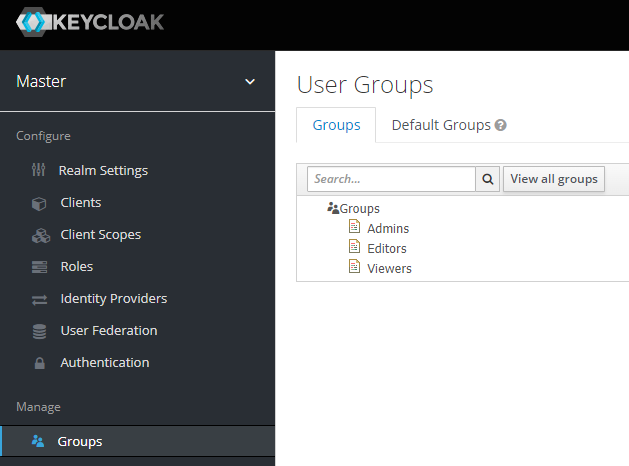
First, create "Admins", "Editors", and "Viewer" groups under "Manage", "Groups".
Create "Admins" group:
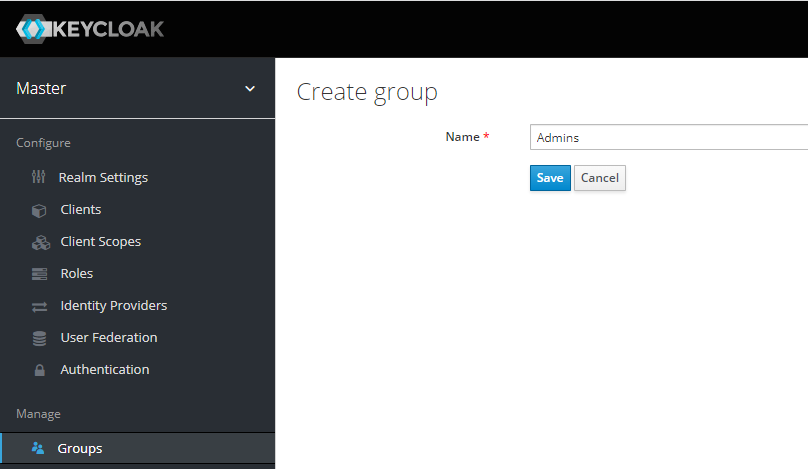
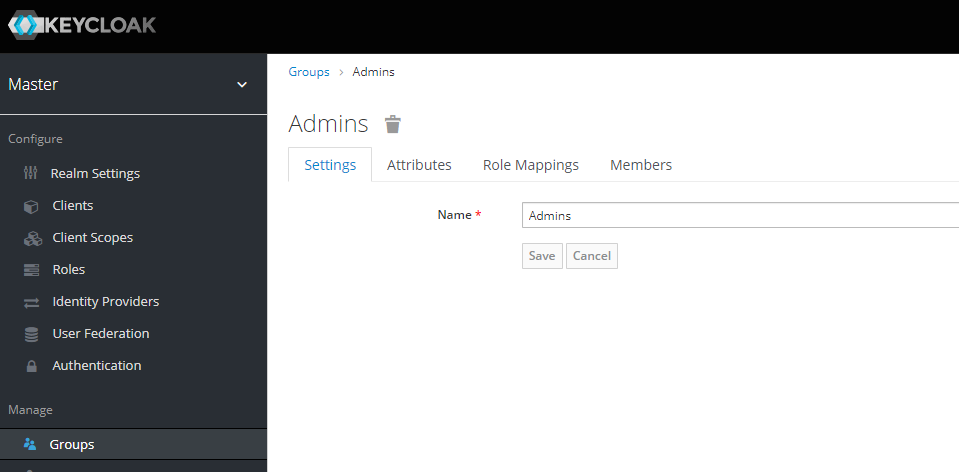
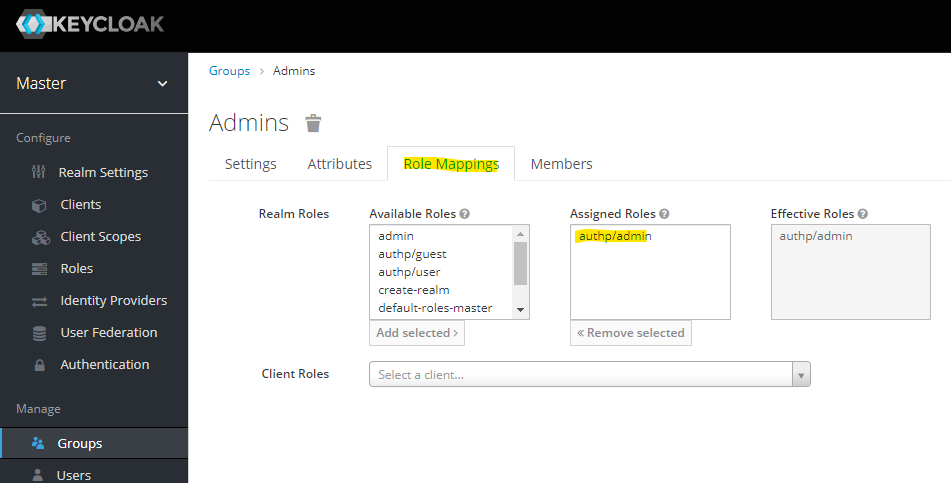
Assign the previously created authp/admin role to "Admins" group:
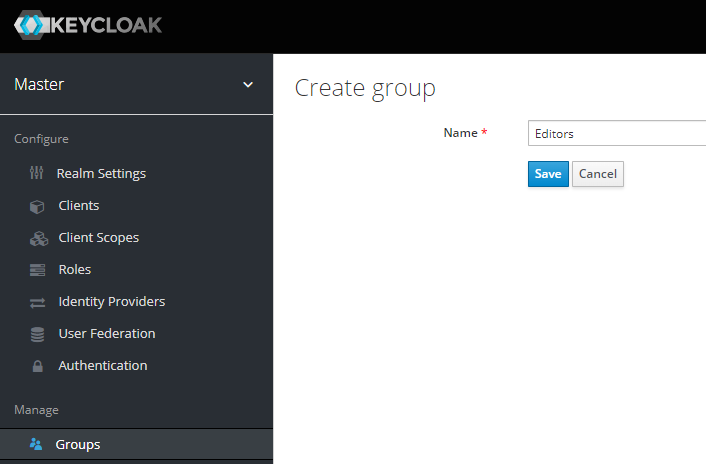
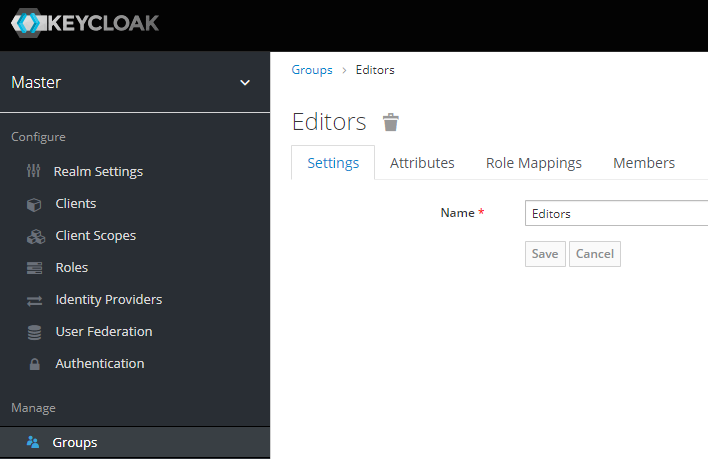
Create "Editors" group:
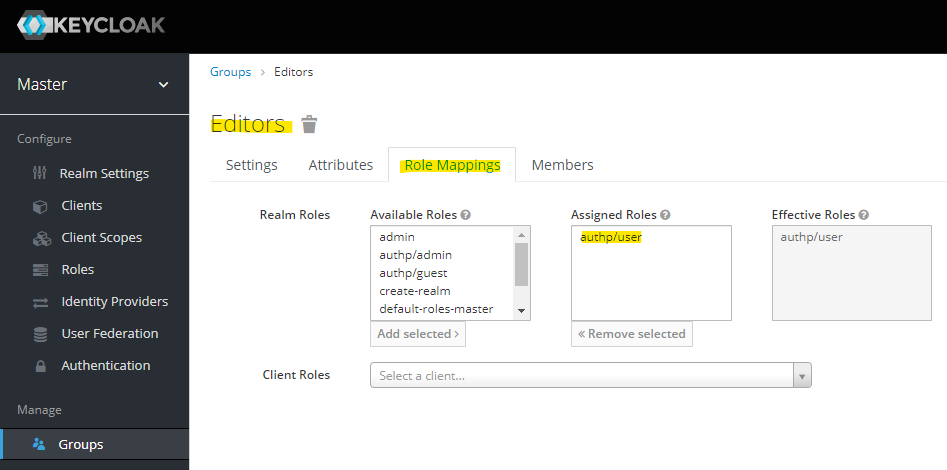
Assign the previously created authp/user role to "Editors" group:
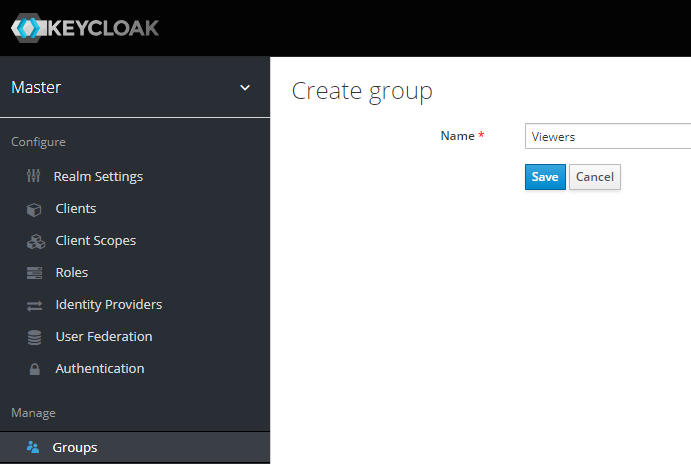
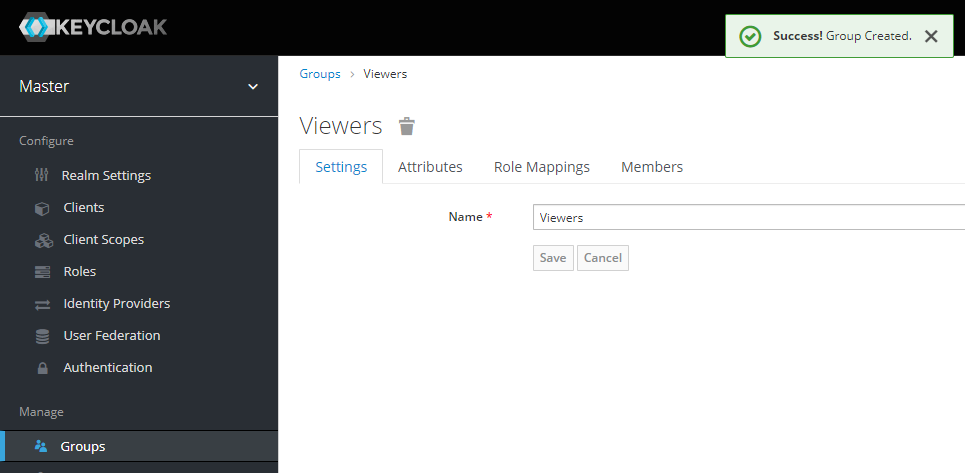
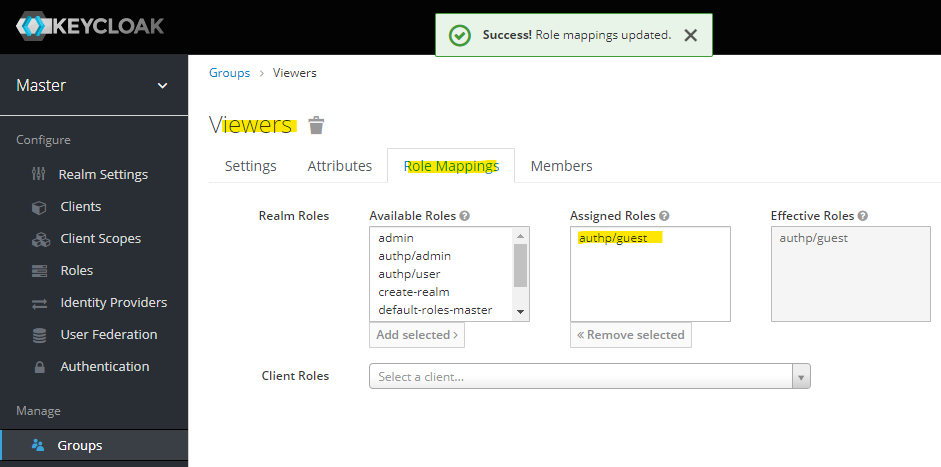
Create "Viewers" group:
Assign the previously created authp/guest role to "Viewers" group:
The list of realm roles follows.
Users
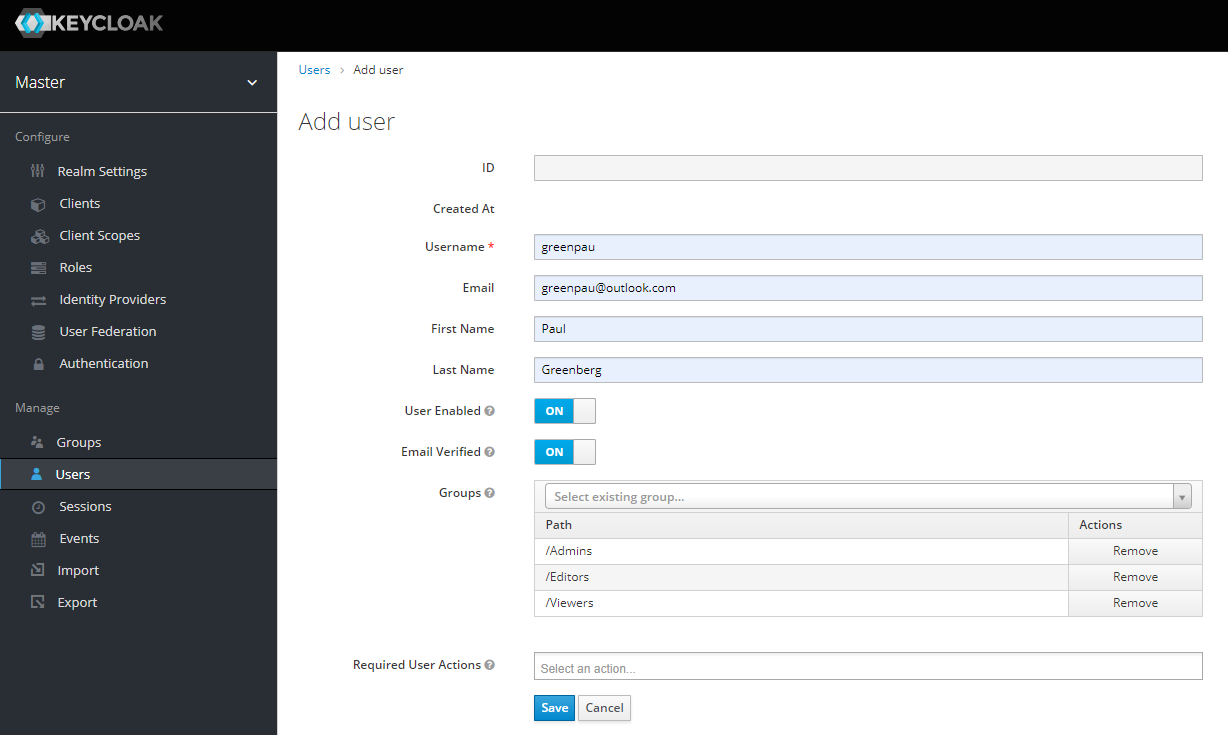
Next, create a new user under "Manage", "Users". As part of the process assign the newly created groups to the user.
Then, click "View all users" and click on the ID of the newly created user:

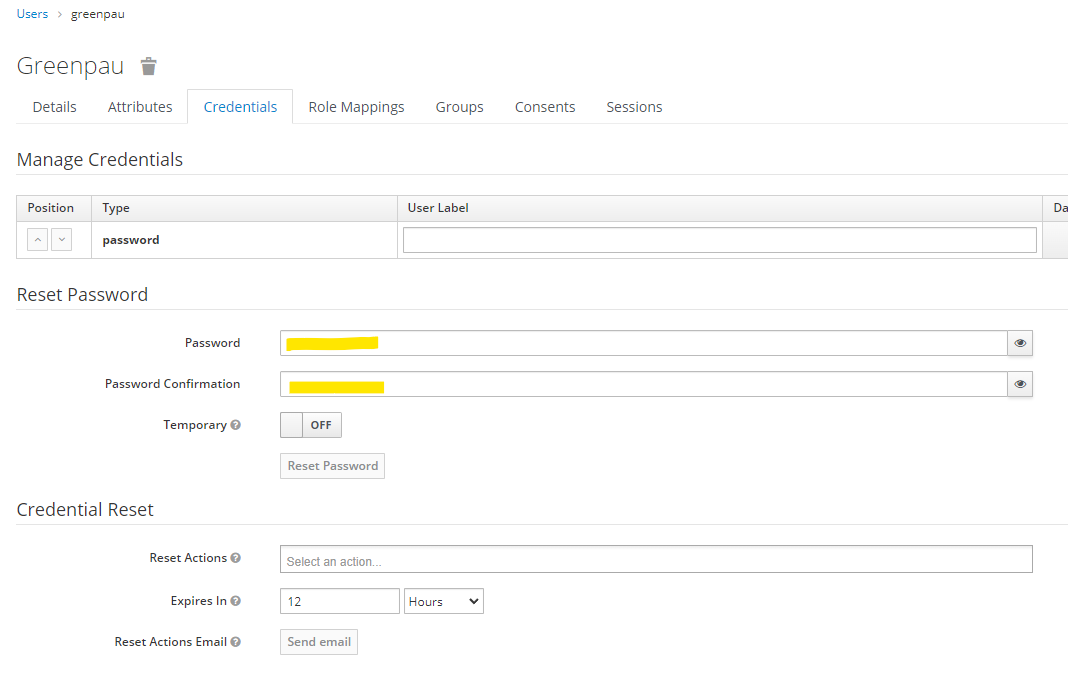
Browse to "Credentials" tab and set user password.
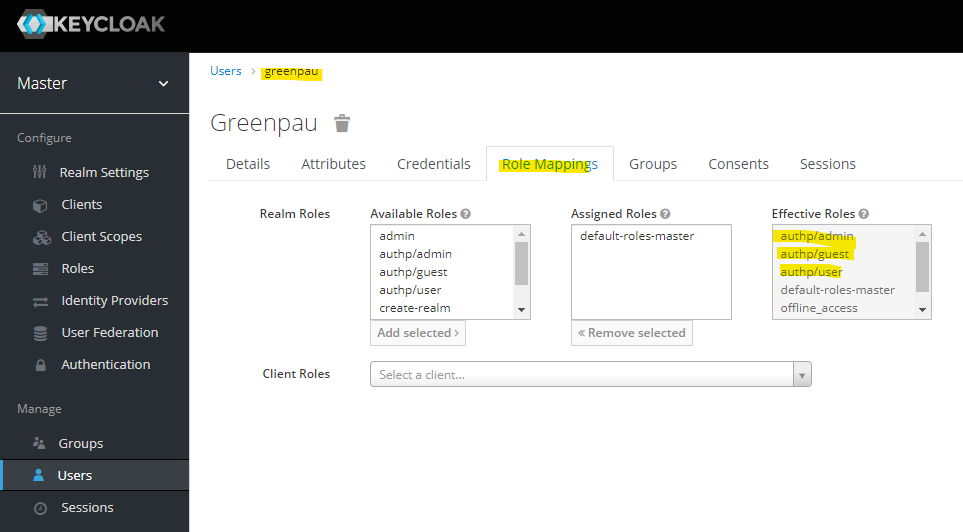
Browser to "Role Mappings" tab and see that the "Effective Roles".
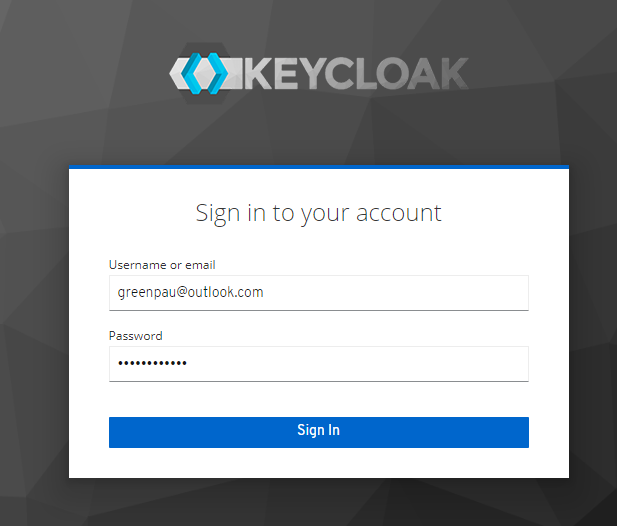
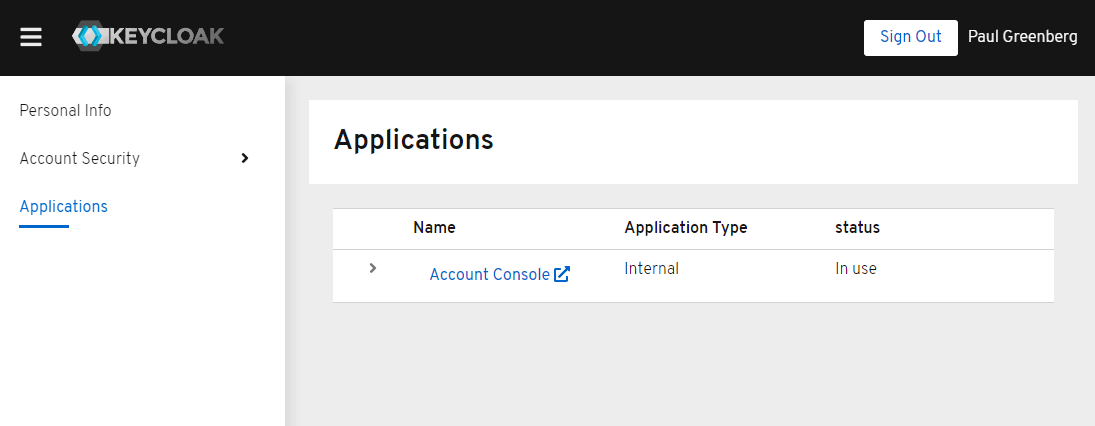
Test the login by the user. The URL is https://keycloak/auth/realms/master/account/.
Realm
Disable a number of providers under "Configure", "Realm Settings", "Keys", and "Providers".
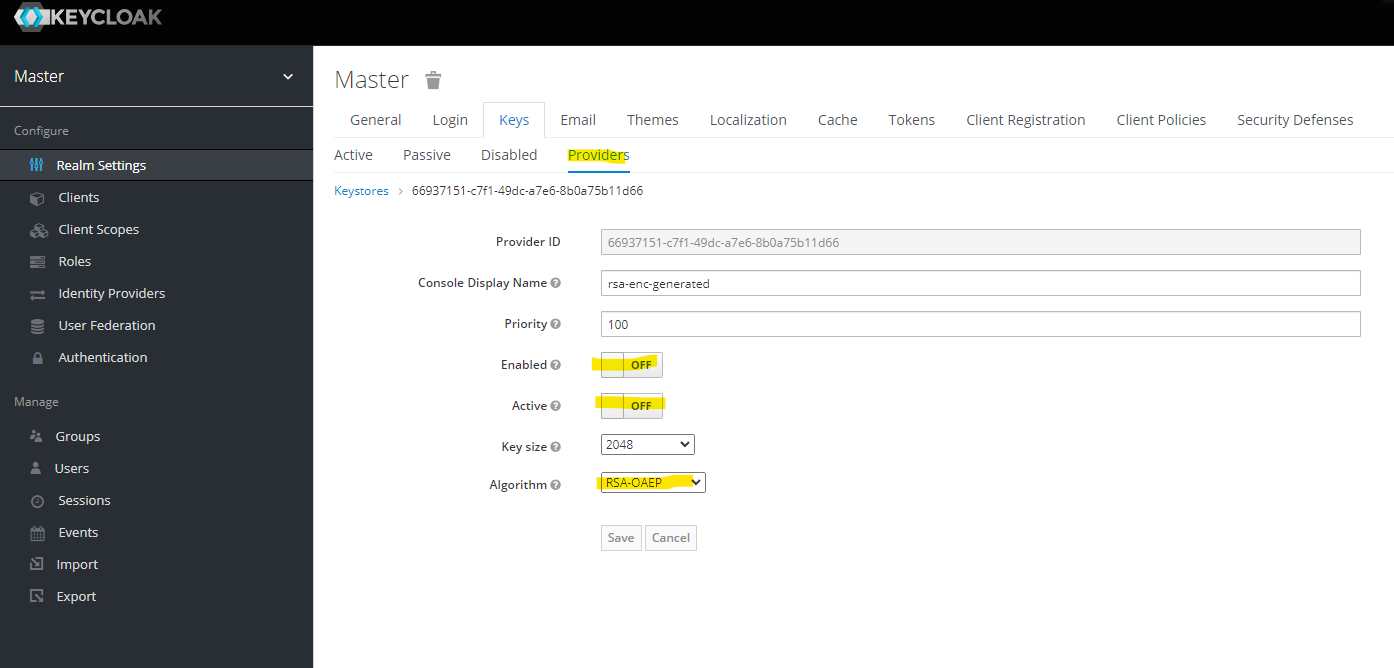
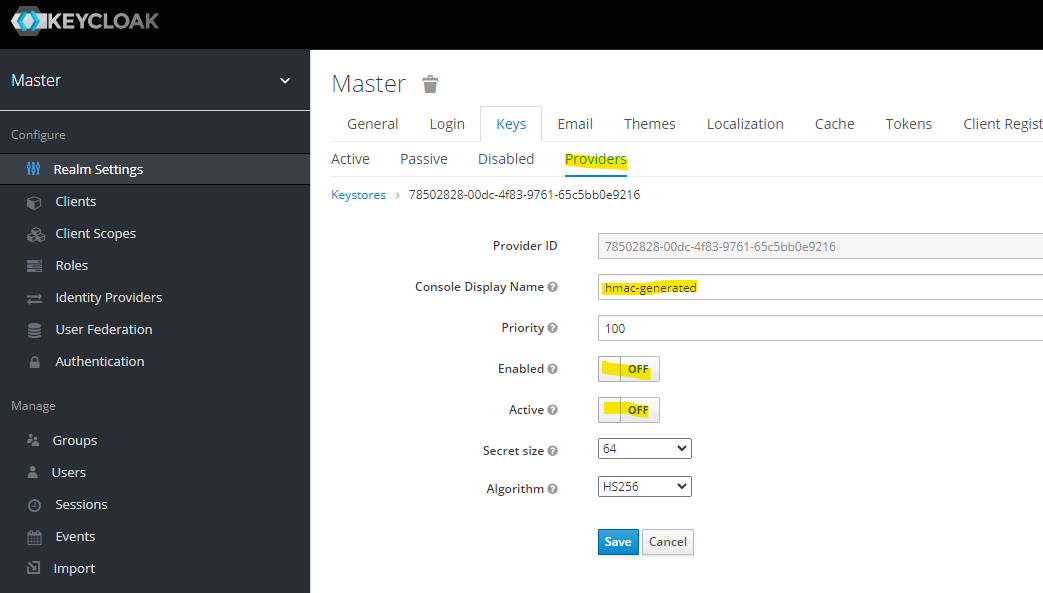
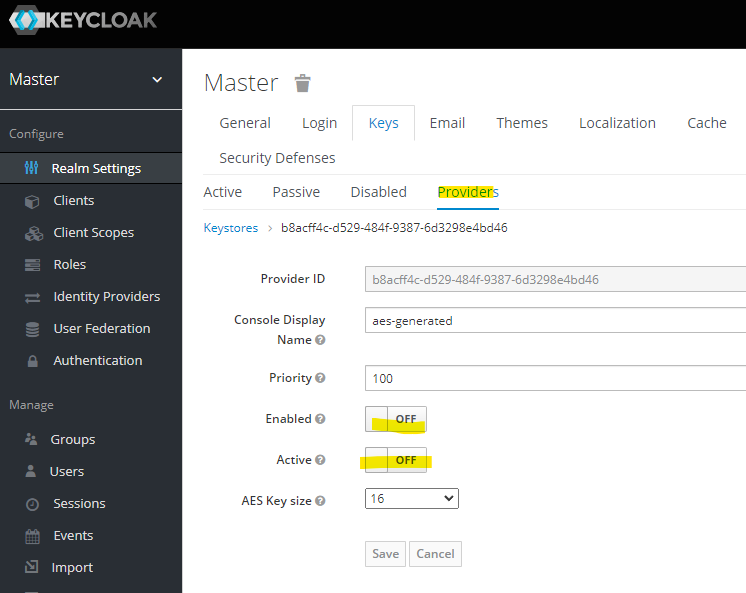
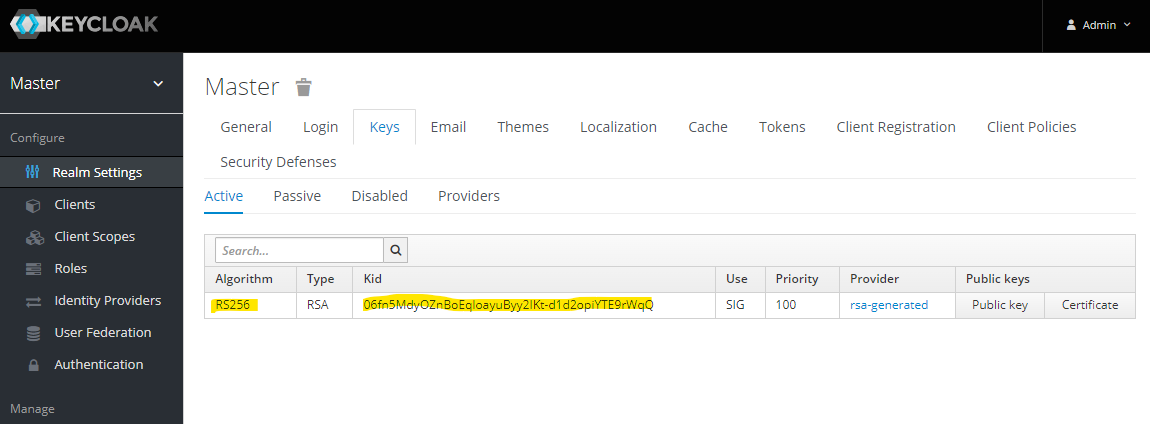
At the end, you should have rsa-generated provider only.
Client
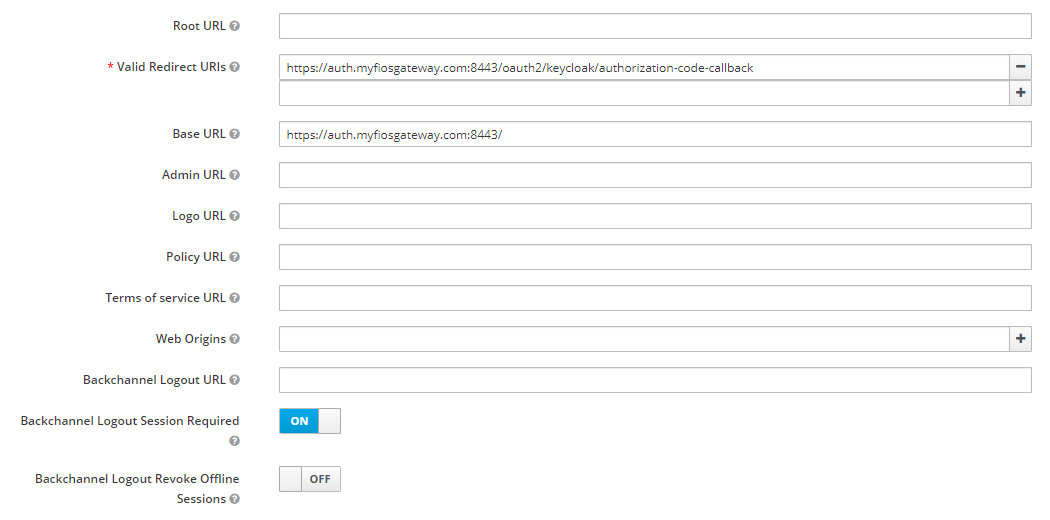
Add client configuration. See screenshots.
Set "Valid Redirect URIs" to your callback endpoint,
e.g. https://auth.myfiosgateway.com:8443/oauth2/keycloak/authorization-code-callback.
Set "Base URL" to the authentication portal, e.g. https://auth.myfiosgateway.com:8443/.
The "well-known" configuration URL would be:
http://keycloak/auth/realms/{realm}/.well-known/openid-configuration
https://keycloak.axi92.at/auth/realms/master/.well-known/openid-configuration
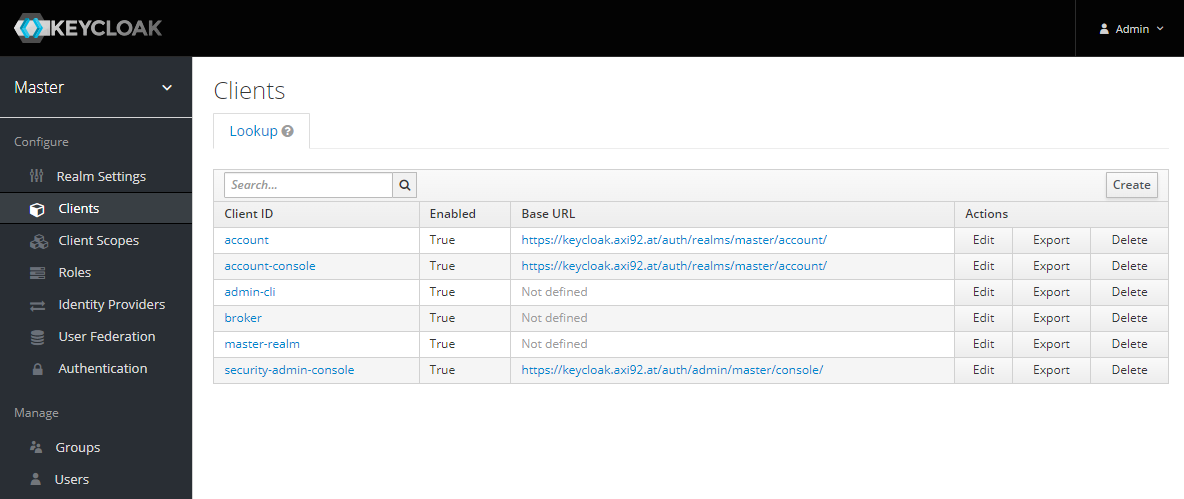
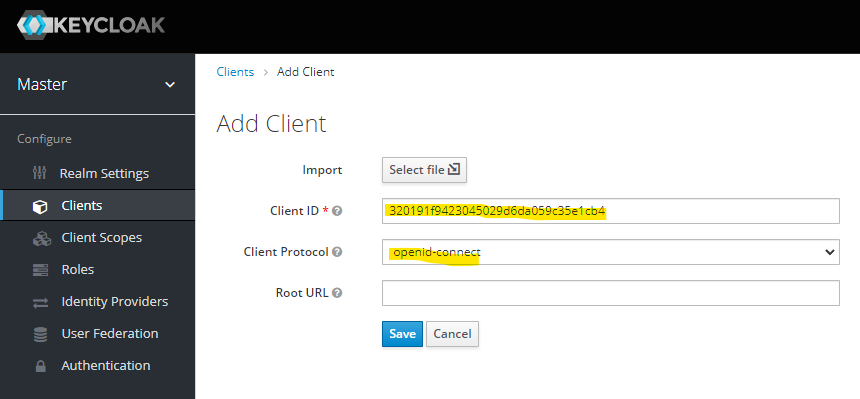
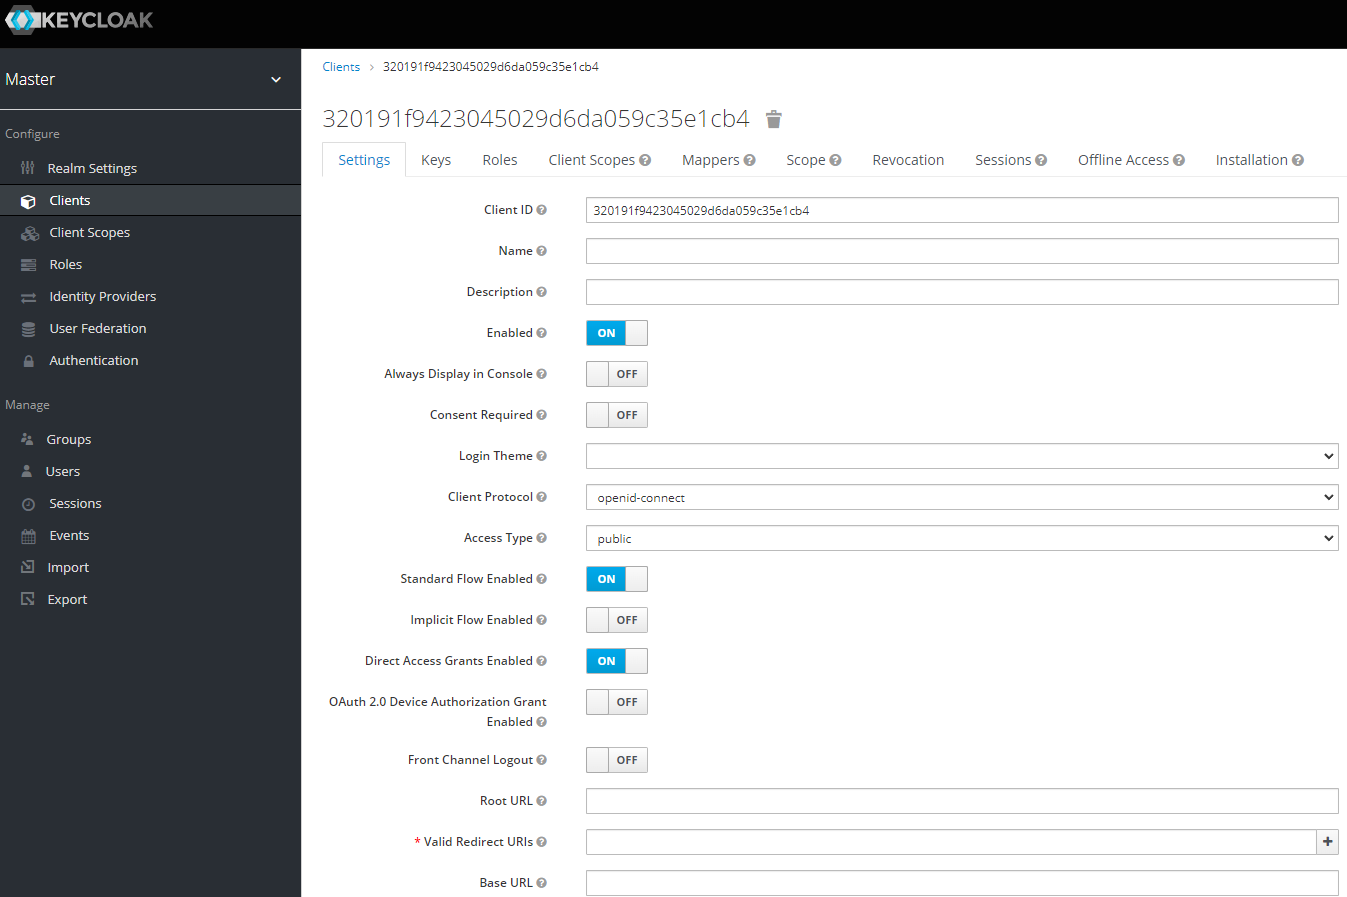
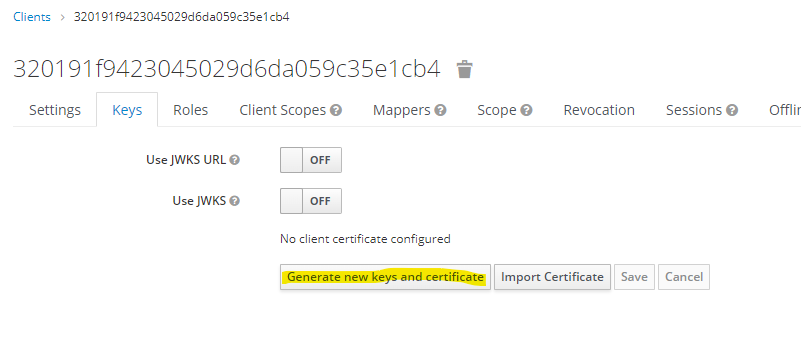
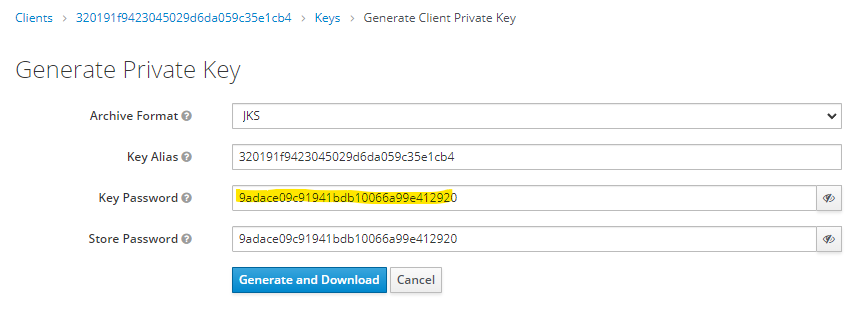
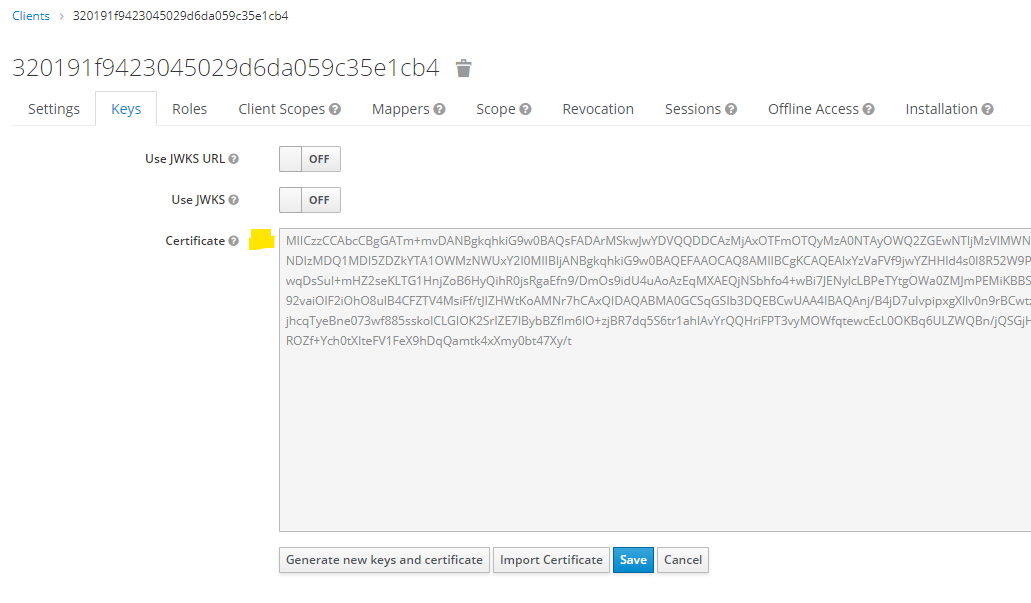
Confirm the configuration.
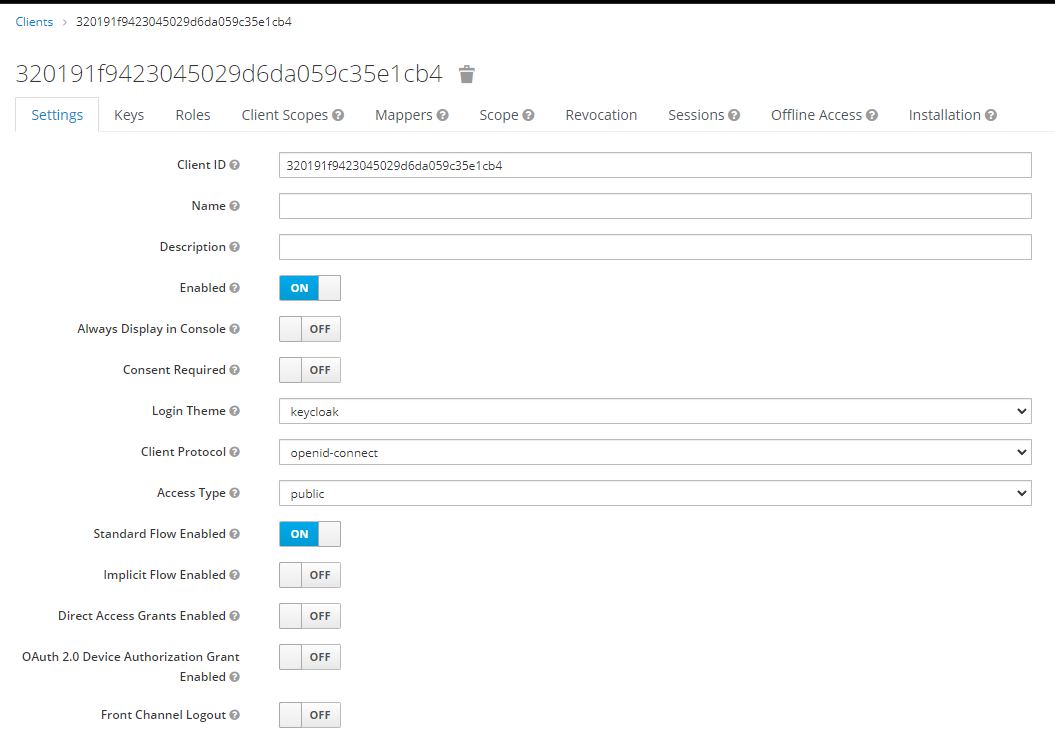
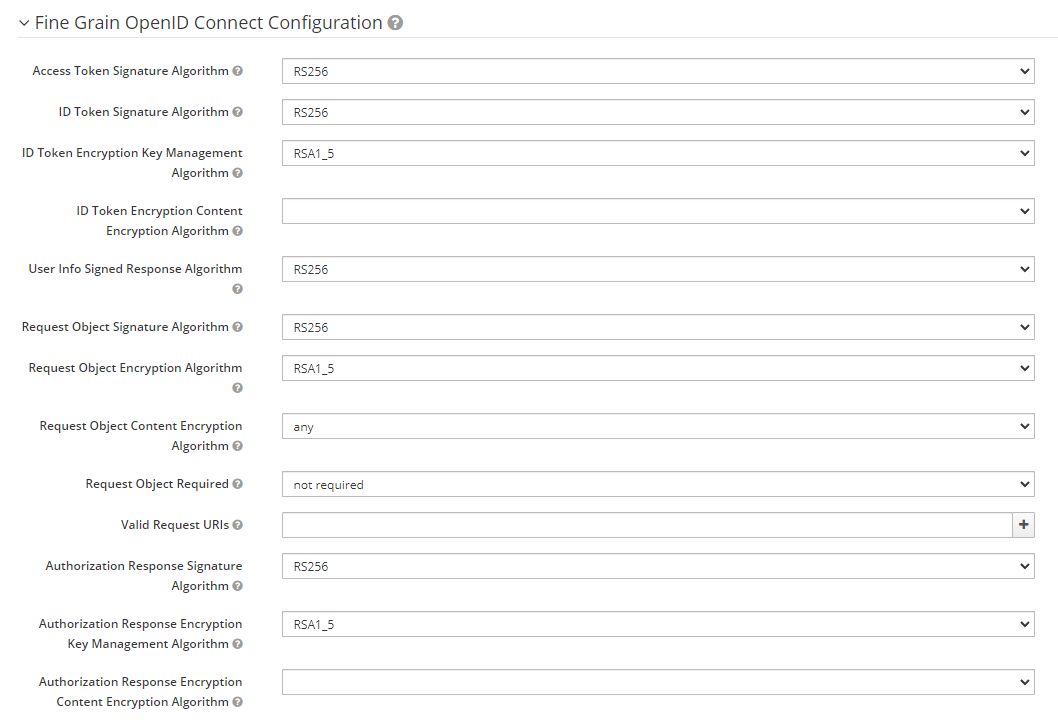
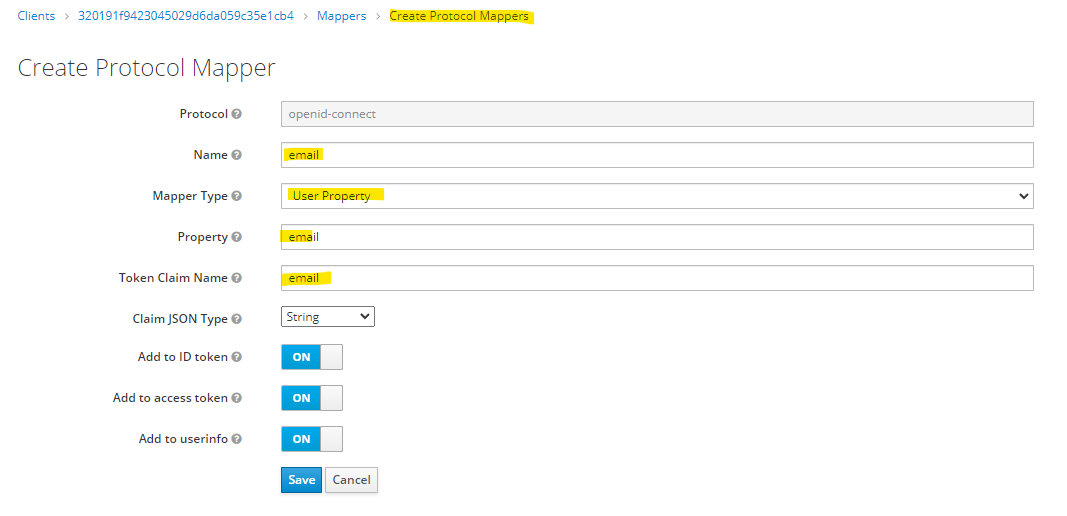
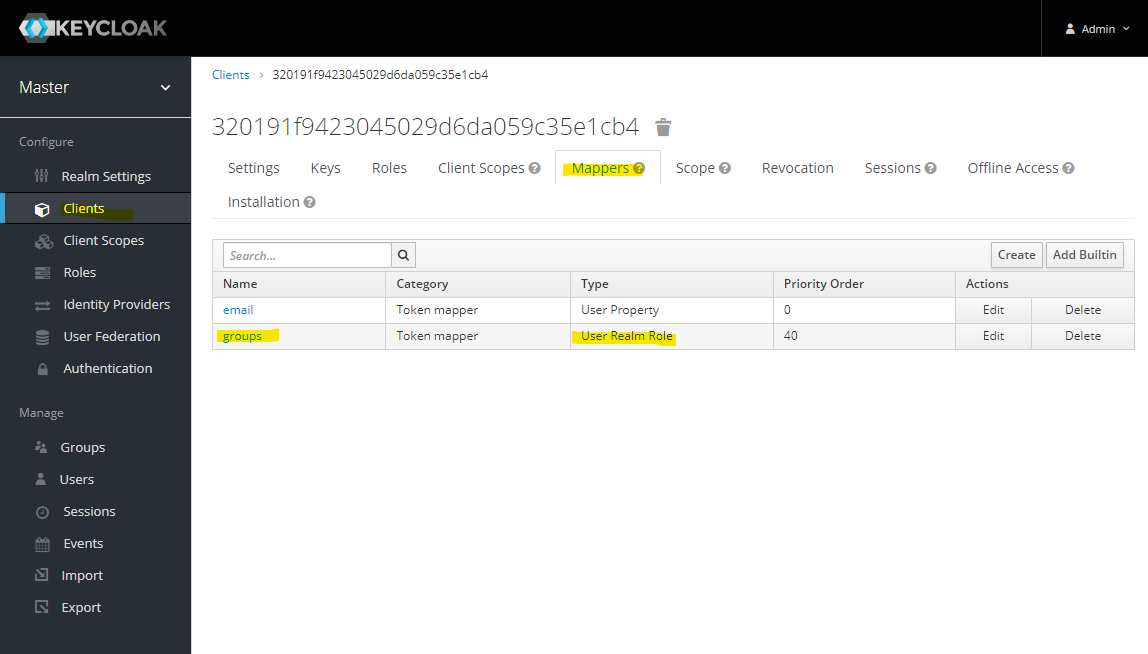
Browse to "Mappers" tab of the client config.
Click "Create" and add email property.
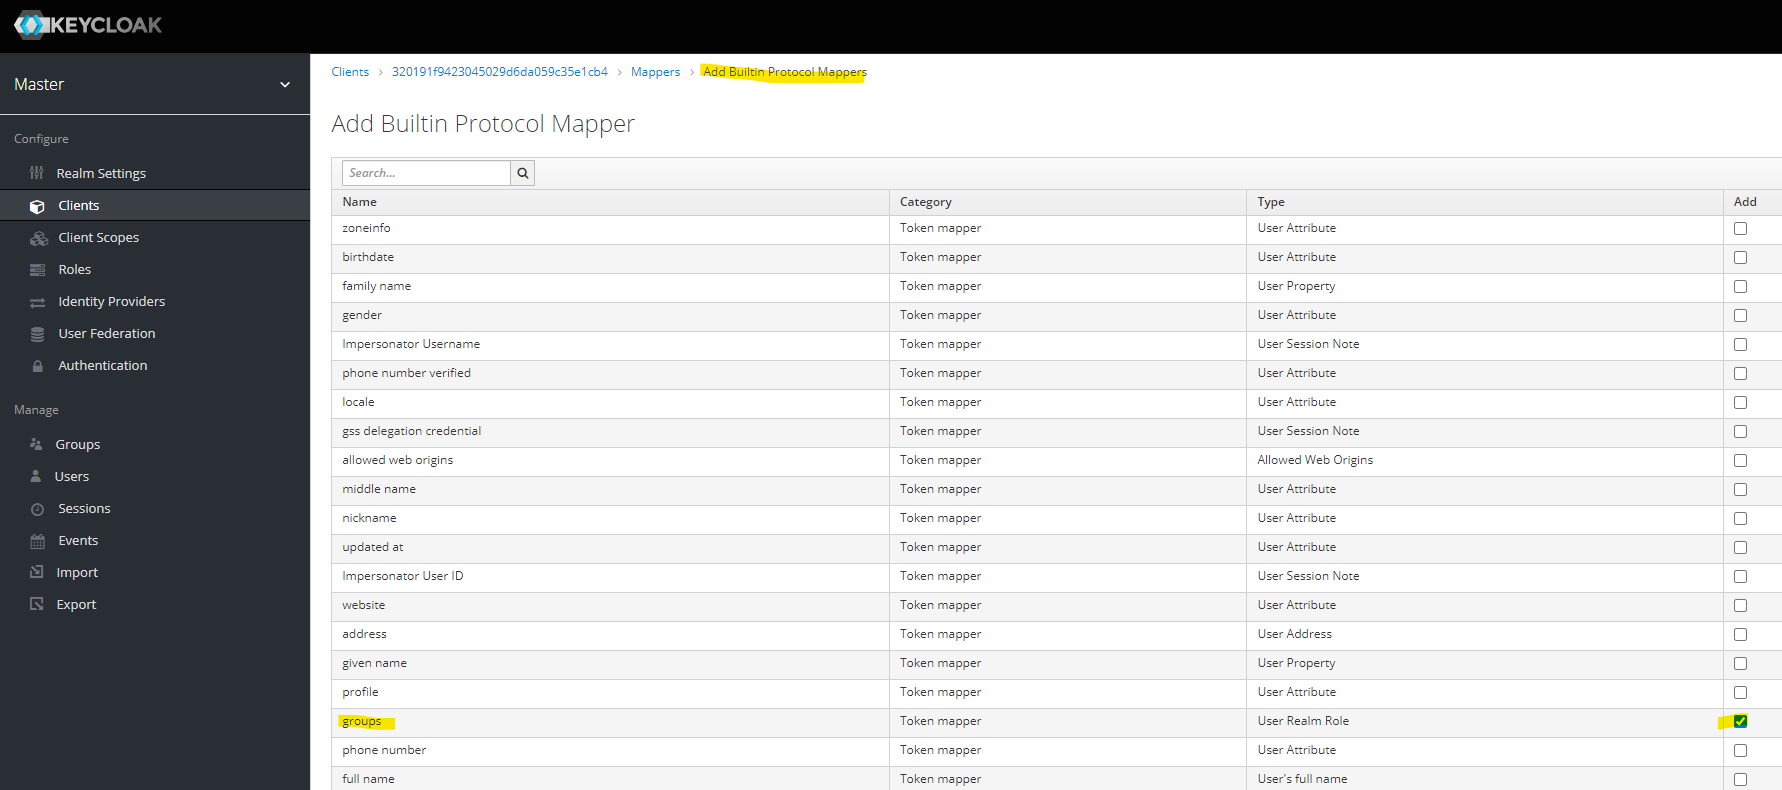
Next, click "Add Builtin" and add "groups" property.
Review the created mappers.
User Login
The user's profile now has the new application.

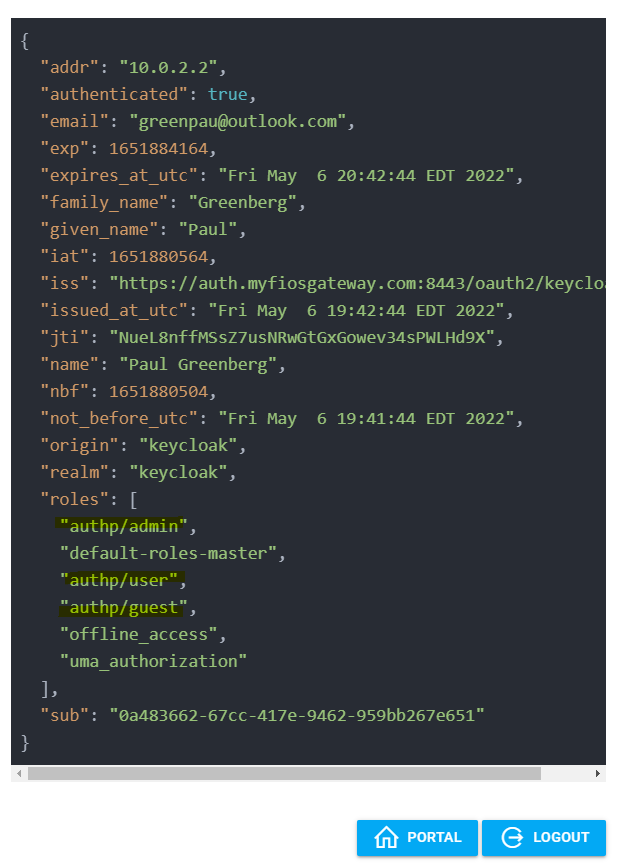
The login to authentication portal will succeed and /whoami will reflect the assigned groups.
