AWS Cognito
Find AWS Cognito integration example in the following Caddyfile
and associated environment file.
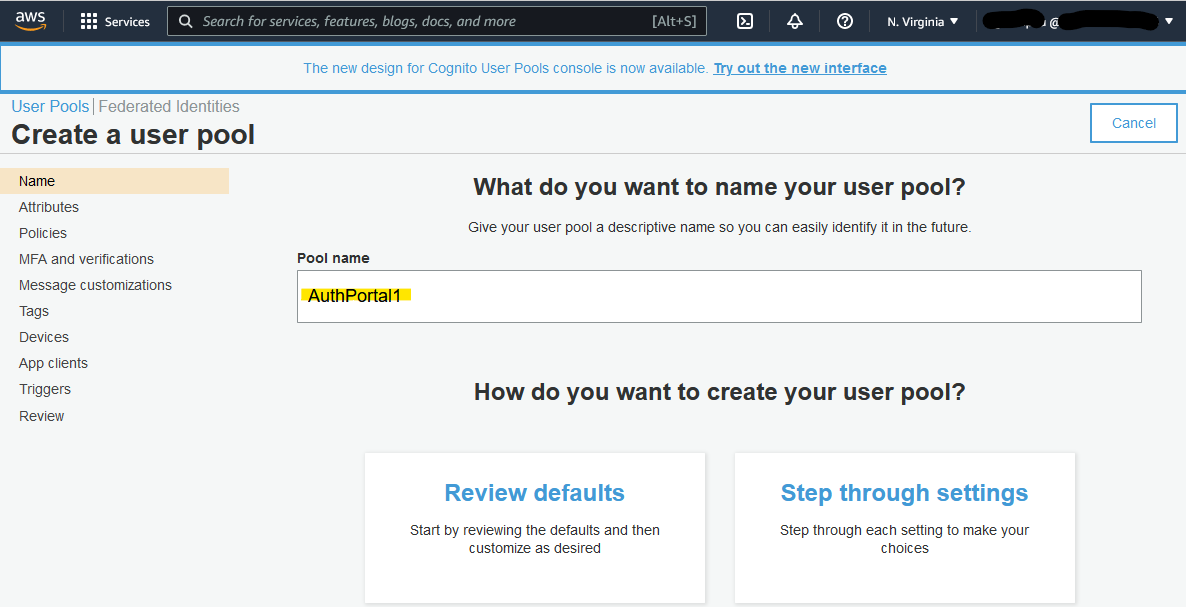
Cognito User Pool
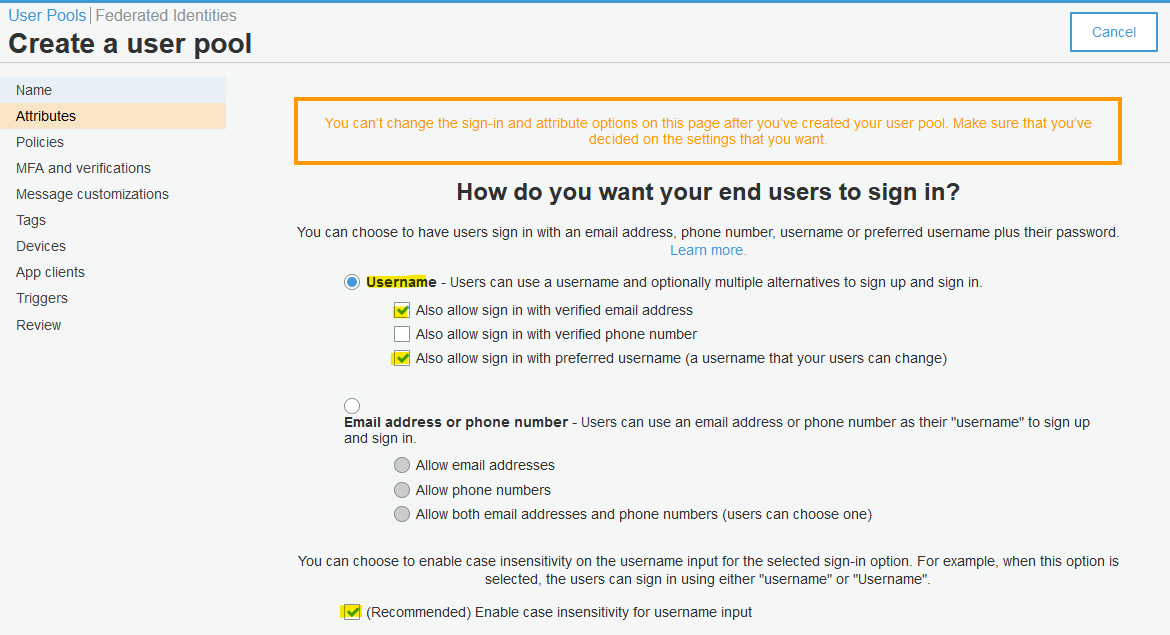
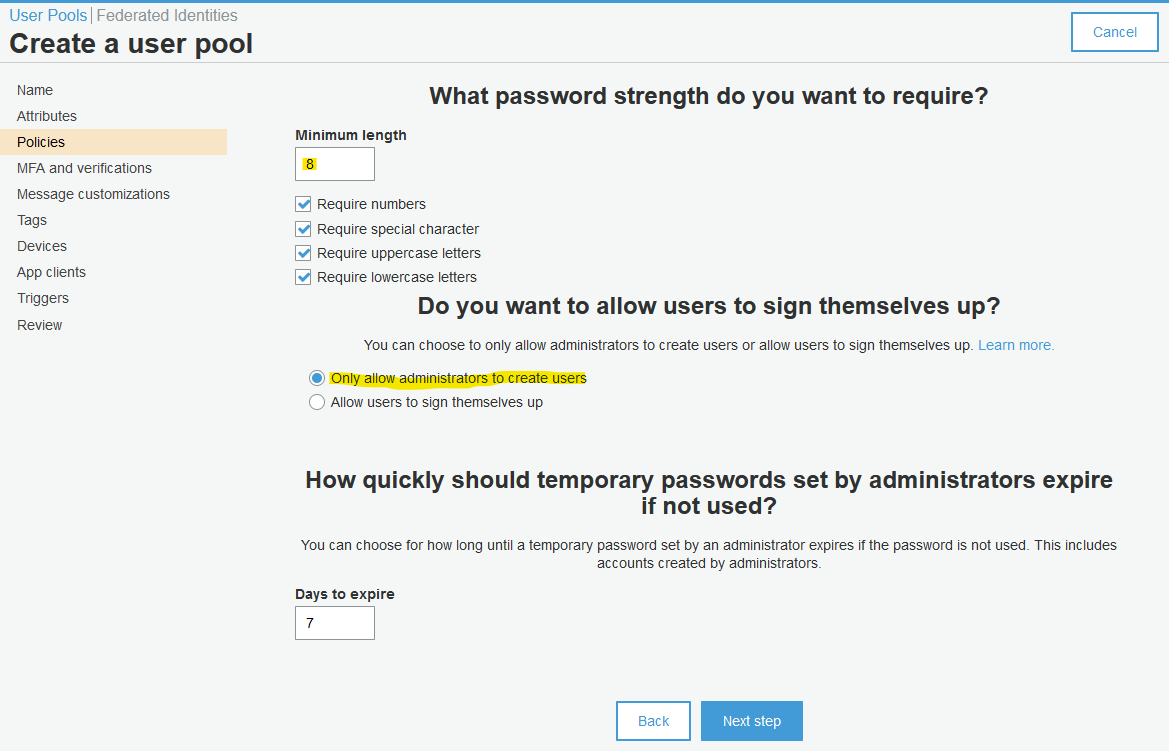
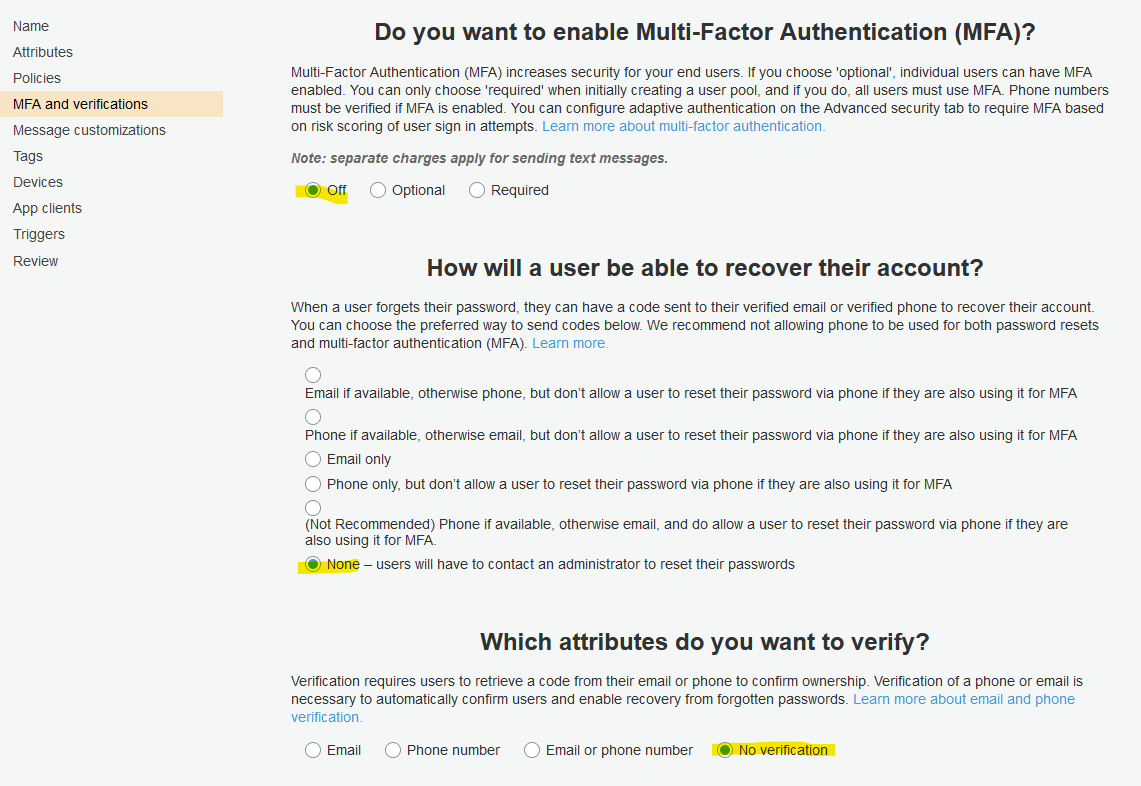
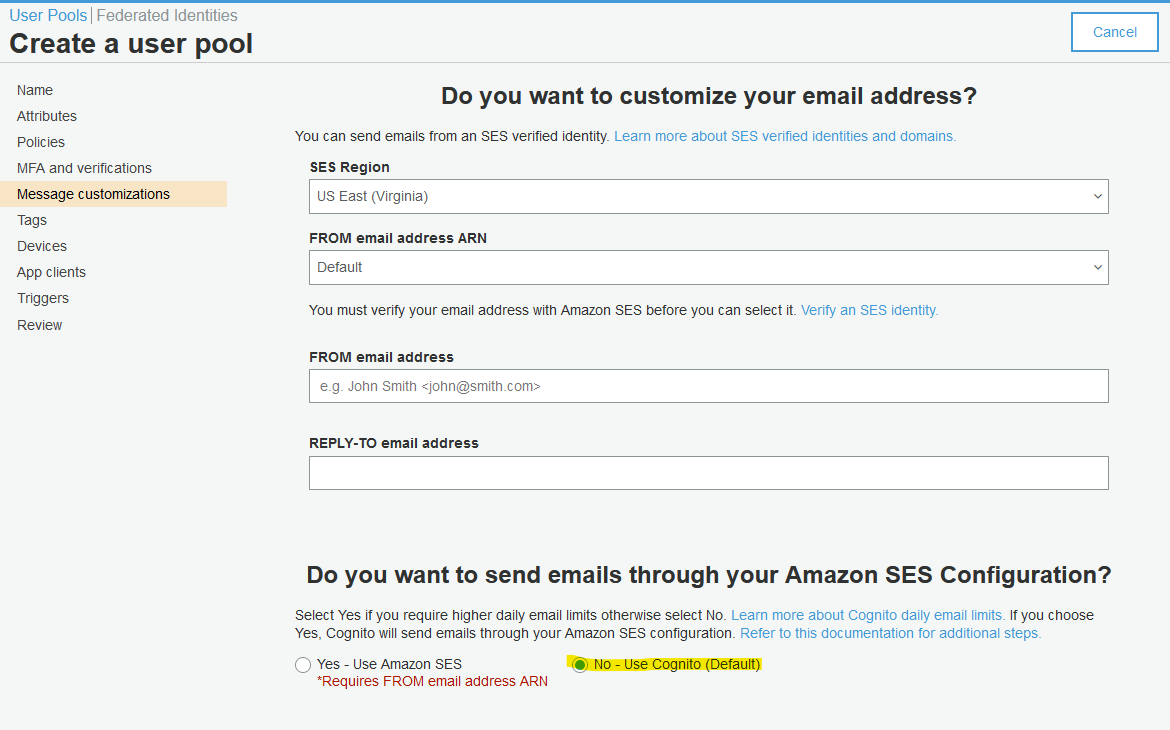
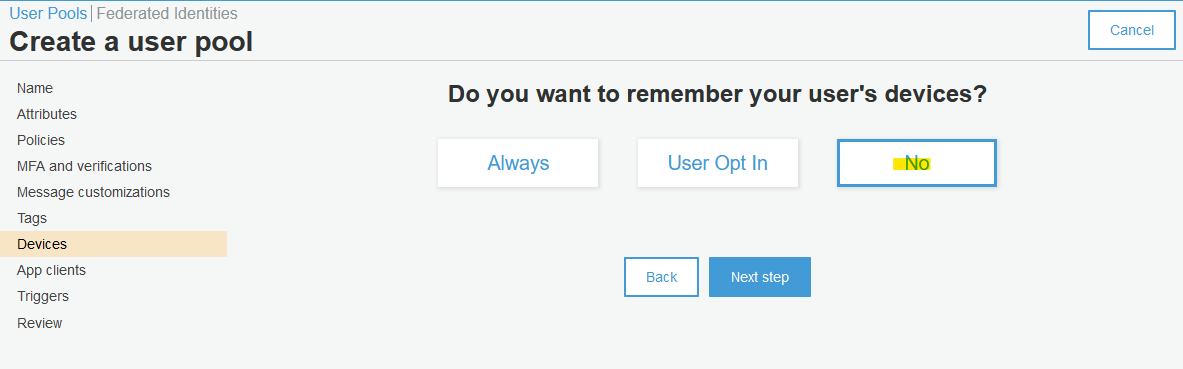
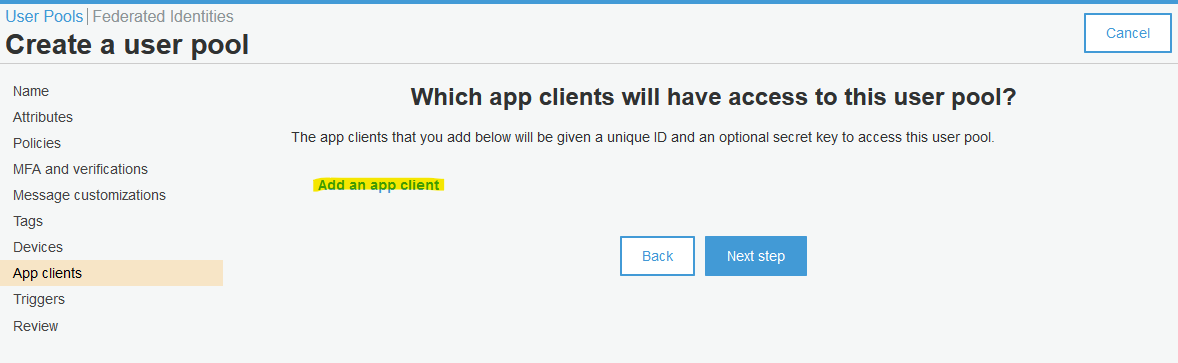
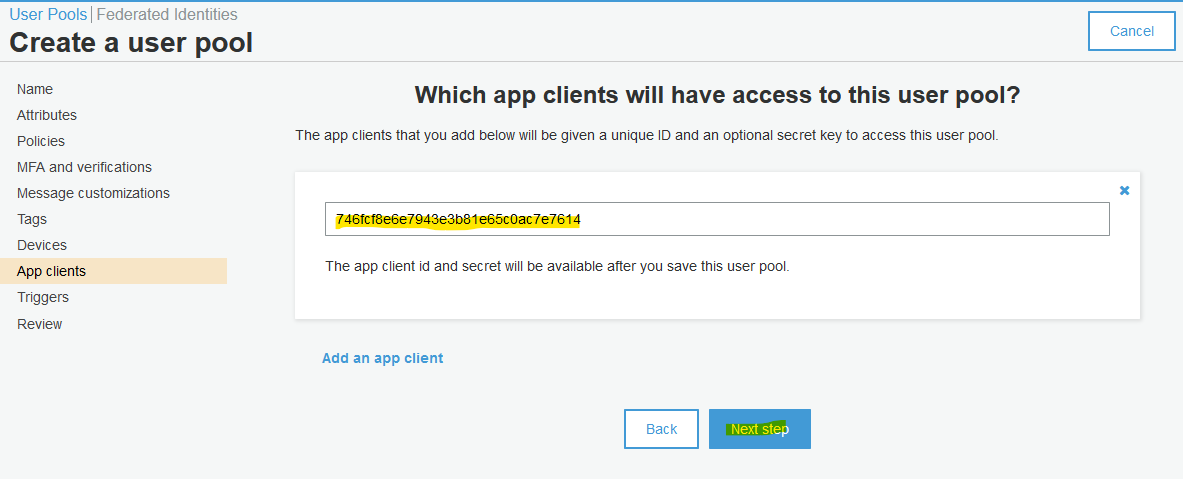
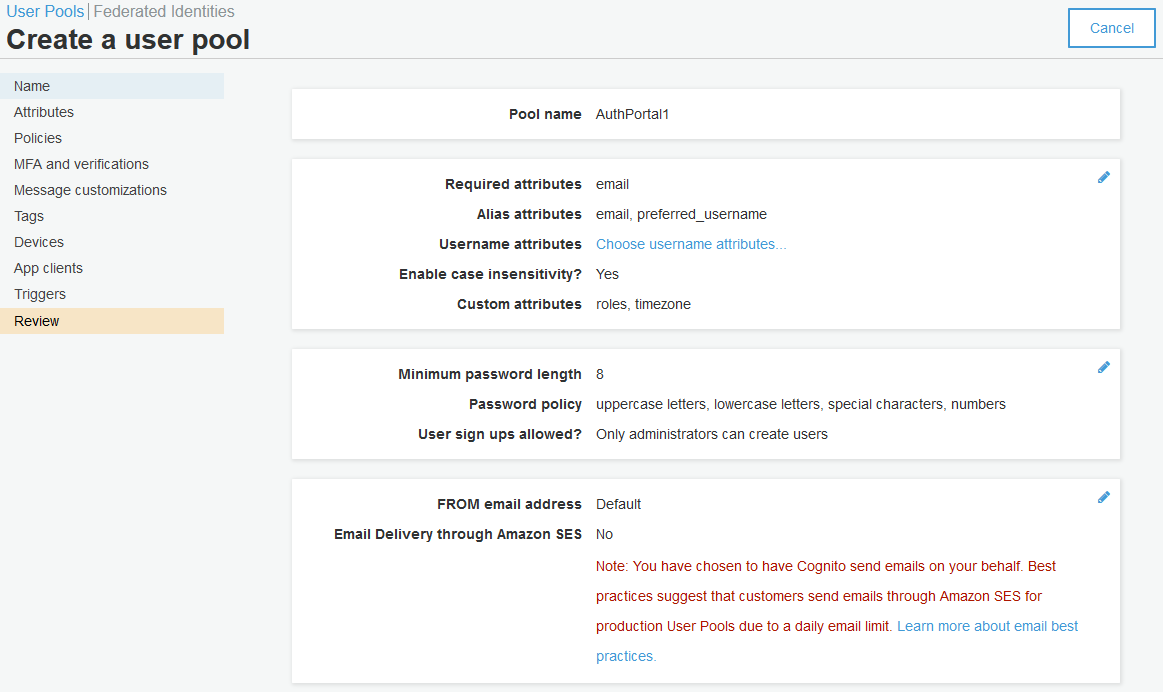
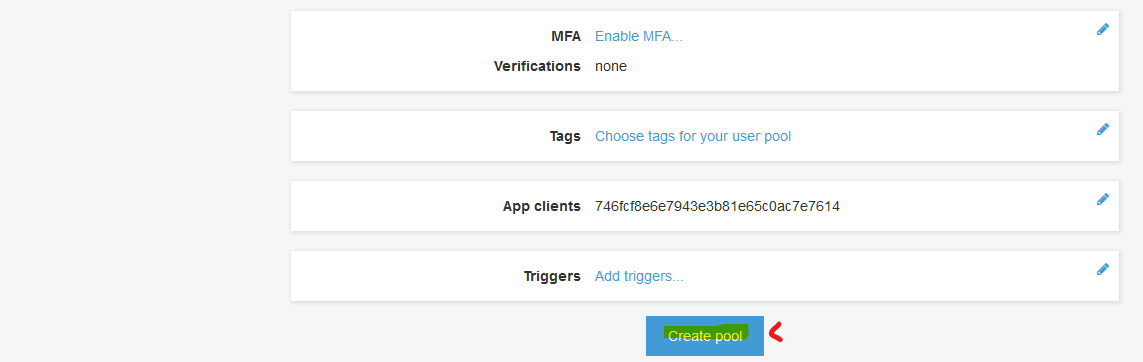
Follow the below screenshots to create new Cognito user pool.
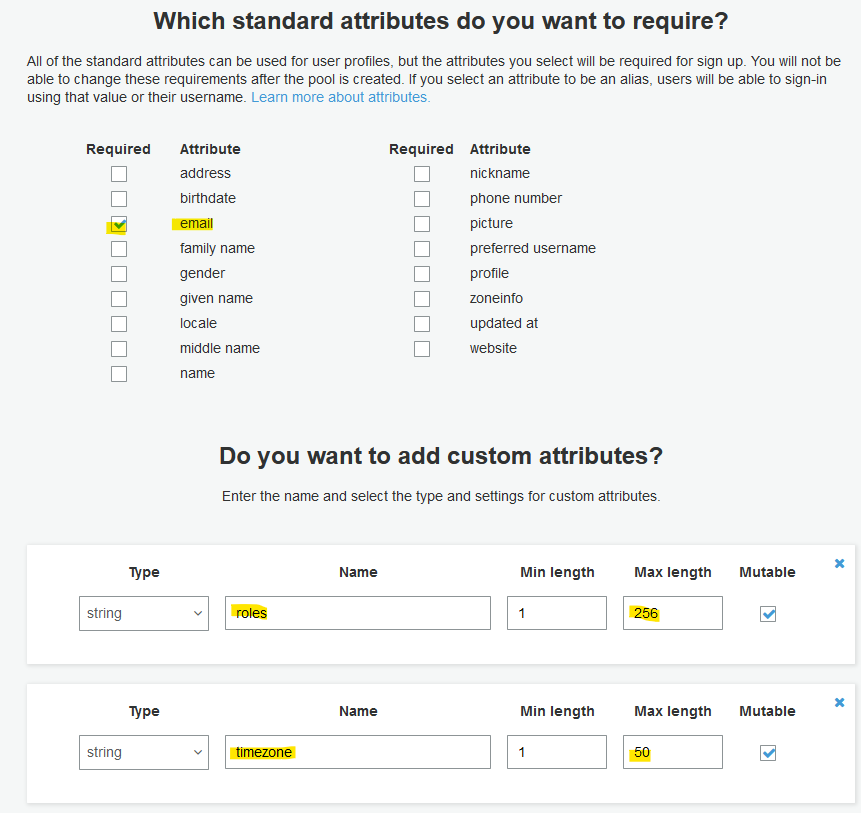
Here, add custom attribute roles and timezone.
It would help with role-based access.
Review your selection.
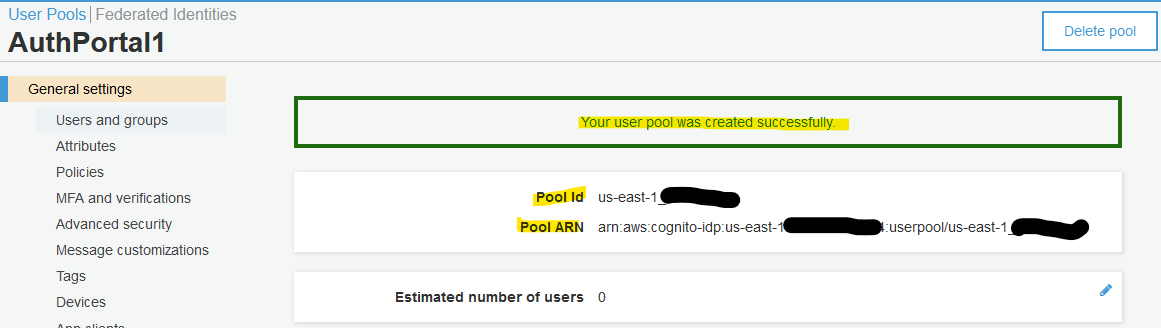
Note the User Pool ID and update your environment file with it.
export COGNITO_US_EAST_1_POOL_ID=us-east-1_UFeMzbuJe
Next, browse to "App Integration", "App client settings". Enable Cognito User Pool and update relevant URL.
For example:
- Set "Callback URL(s)" to
https://auth.myfiosgateway.com:8443/oauth2/cognito-us-east-1/authorization-code-callback - Set "Sign out URL(s)" to
https://auth.myfiosgateway.com:8443/logout

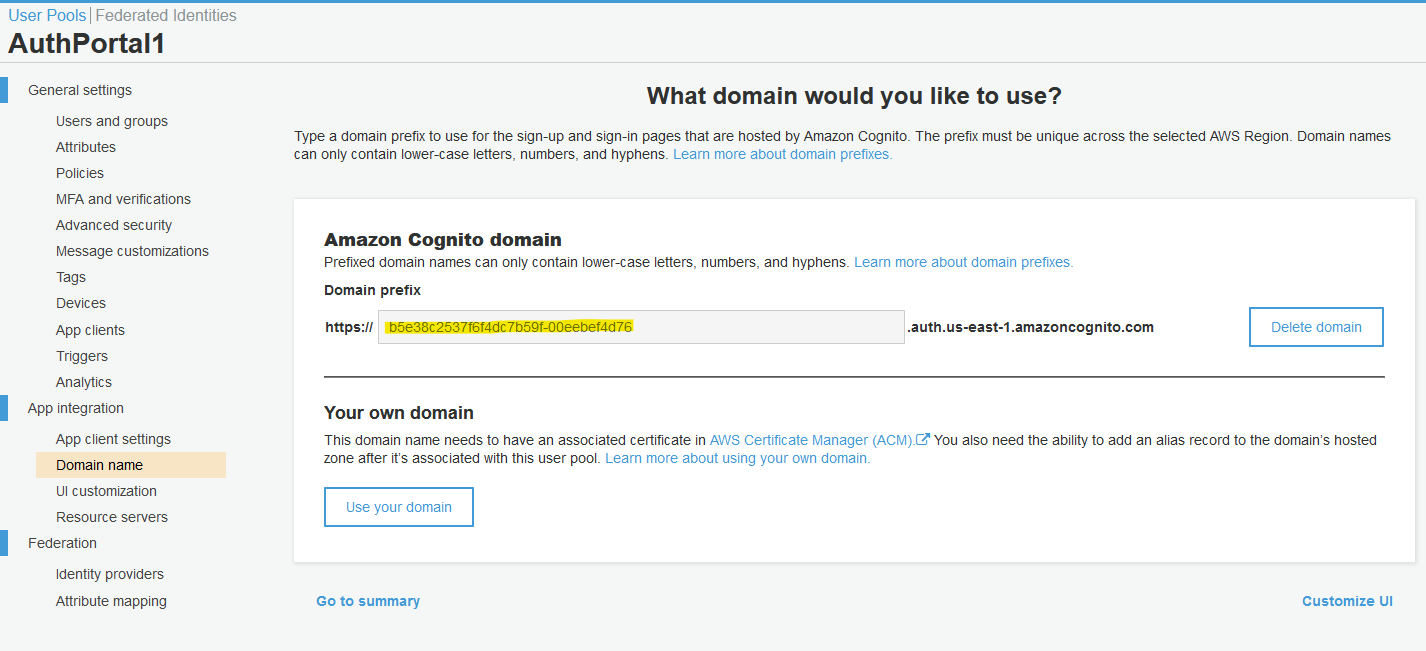
Next, create a random string for your Cognito domain and save it. This step is mandatory for a working OAuth integration.
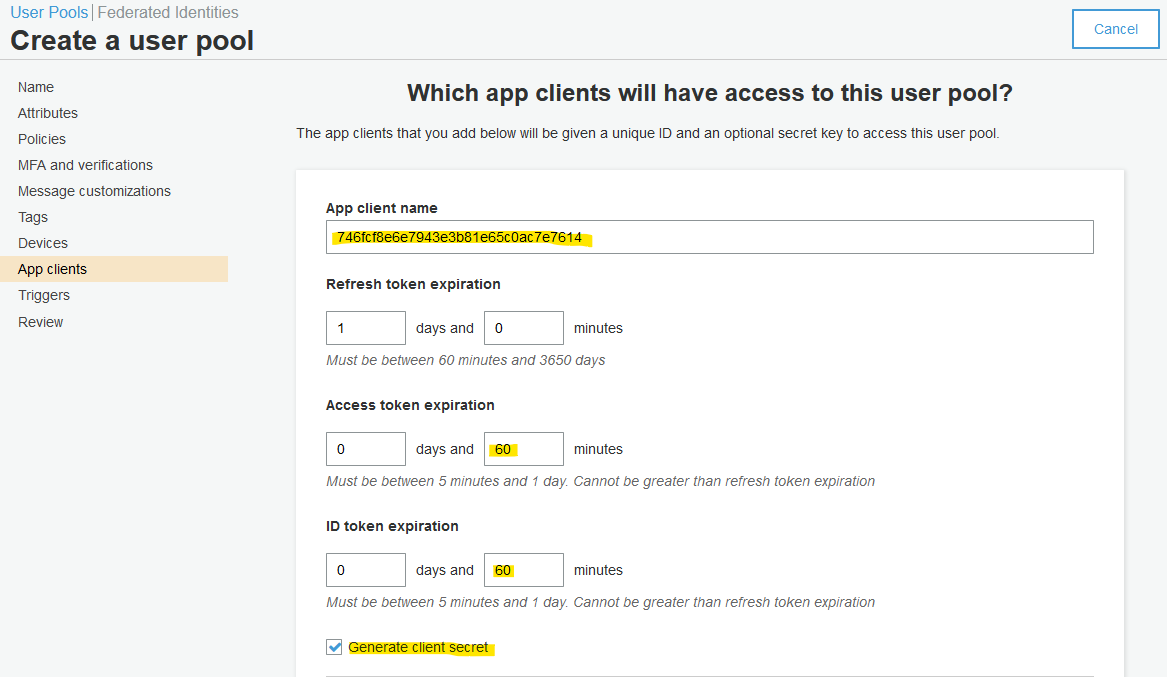
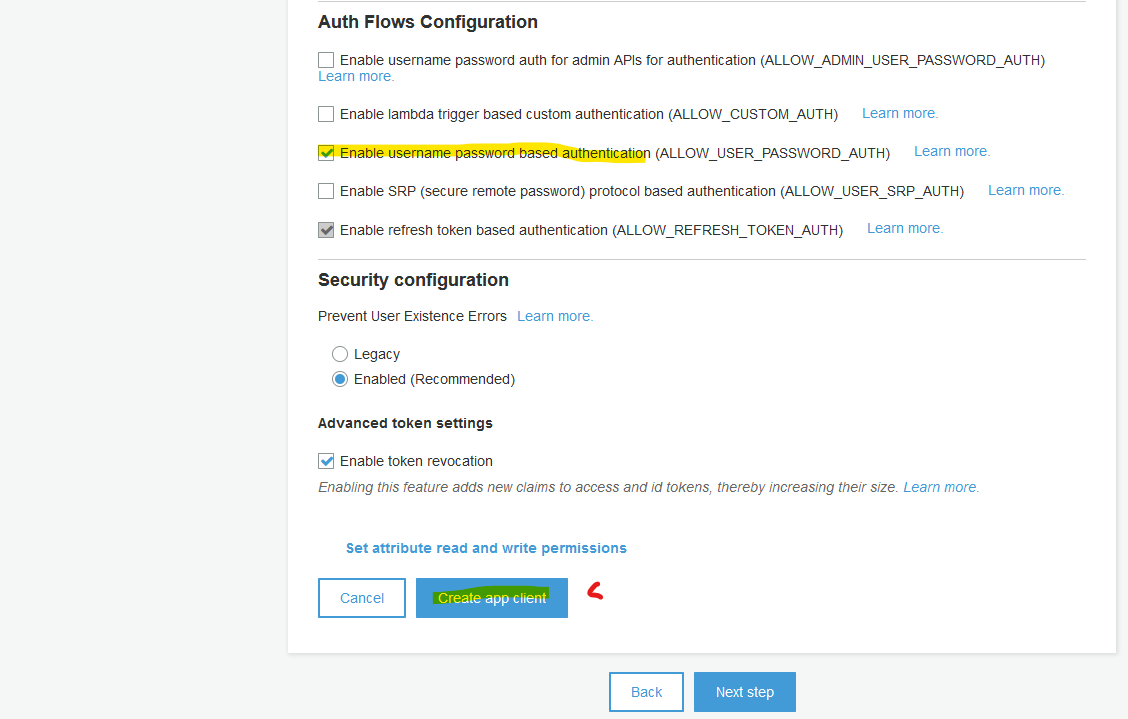
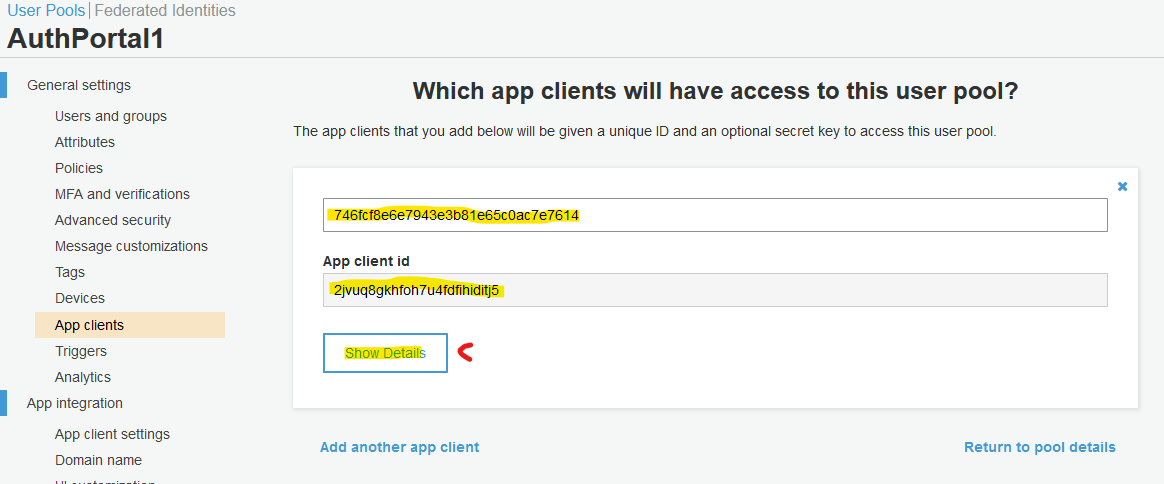
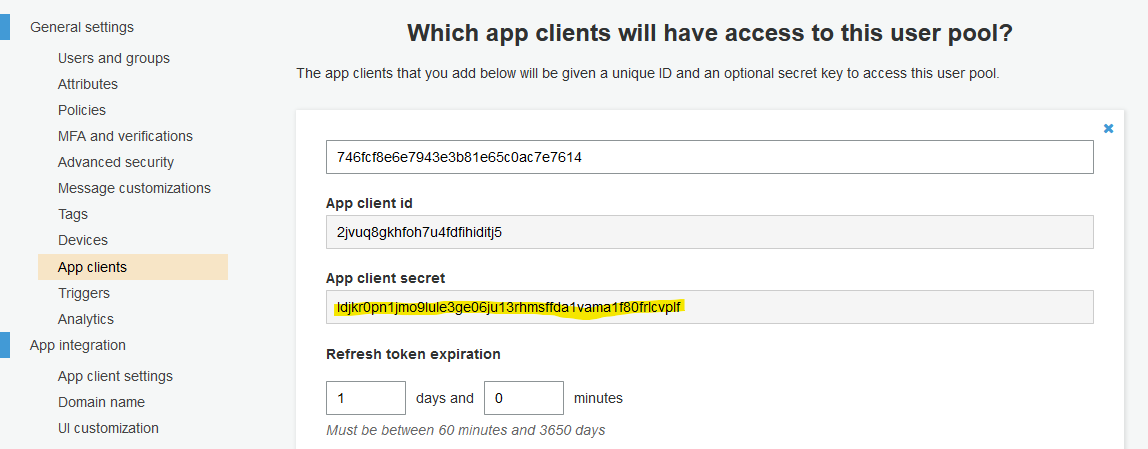
Cognito Client
During this step, you will extract Client ID and Secret and update environment file with:
export COGNITO_US_EAST_1_CLIENT_ID=2jvuq8gkhfoh7u4fdfihiditj5
export COGNITO_US_EAST_1_CLIENT_SECRET=ldjkr0pn1jmo9lule3ge06ju13rhmsffda1vama1f80frlcvplf
Note the "App client id" and click "Show Details".
Not the "App client secret".
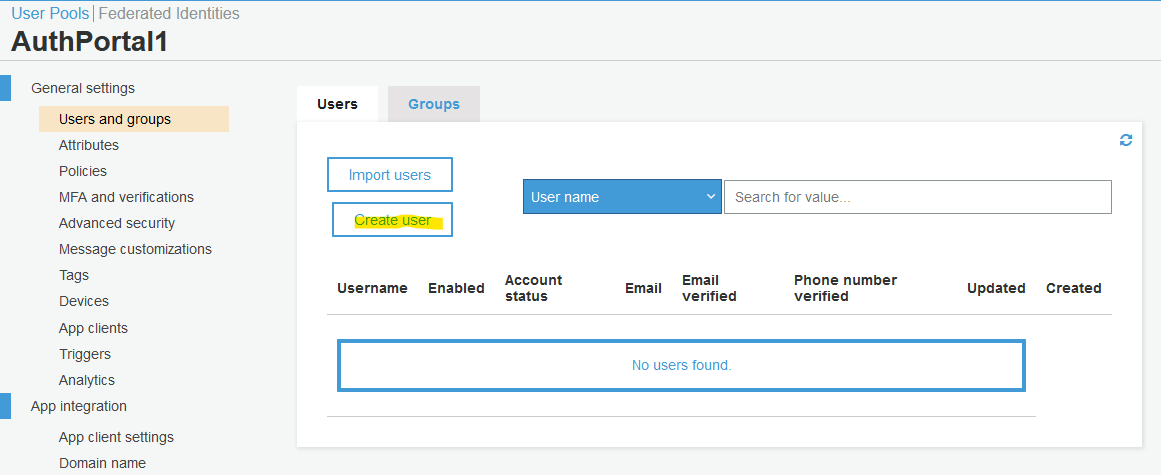
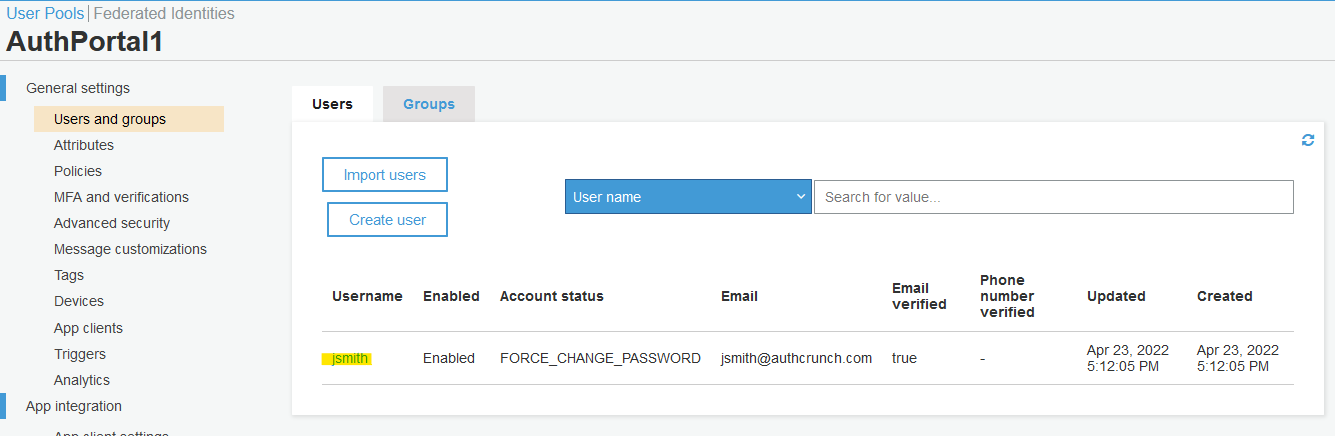
Cognito User
During this step, you will create a user.
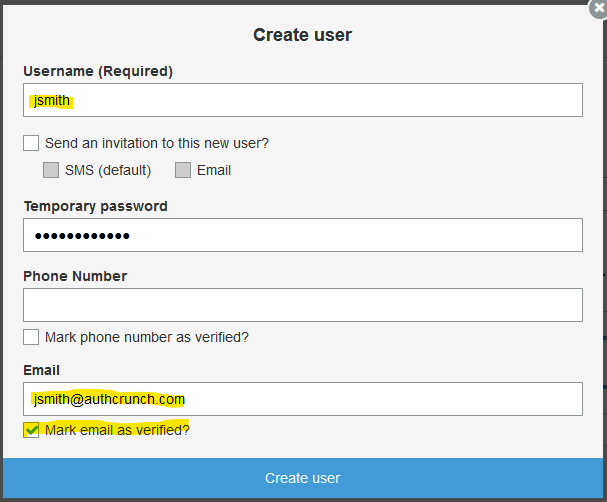
Click "Create user".
Follow the selections below.
After creating the user, the user will have FORCE_CHANGE_PASSWORD status.
We will overwrite it via command-line.
Open AWS CloudShell.
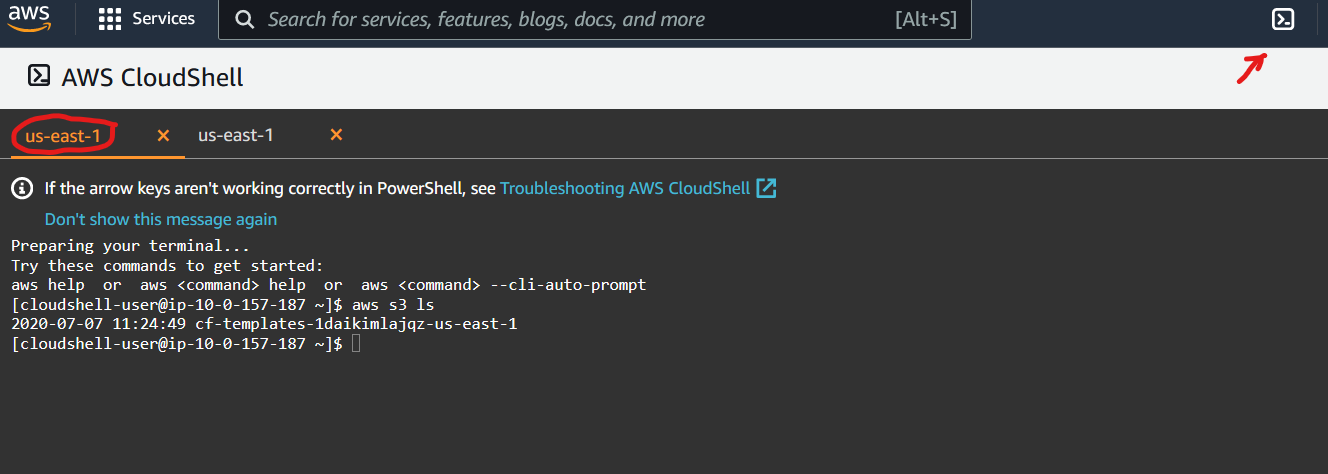
Run the following commands in the terminal.
export TARGET_POOL="us-east-1_UFeMzbuJe"
export TARGET_USER="jsmith"
export TARGET_USER_NAME="John Smith"
aws cognito-idp admin-set-user-password --user-pool-id ${TARGET_POOL} --username ${TARGET_USER} --password "The@Password" --permanent
aws cognito-idp admin-update-user-attributes --user-pool-id ${TARGET_POOL} --username ${TARGET_USER} \
  --user-attributes Name="name",Value="${TARGET_USER_NAME}" \
  --user-attributes Name="custom:roles",Value="authp/admin|authp/user" \
  --user-attributes Name="custom:timezone",Value="America/New_York"
aws cognito-idp admin-get-user --user-pool-id ${TARGET_POOL} --username ${TARGET_USER}
The roles are being separated by | (pipe).
The above command set permanent user password (i.e. no need to do password change), set custom roles and timezone.
Next, run the following command to review the created user:
aws cognito-idp admin-get-user --user-pool-id ${TARGET_POOL} --username ${TARGET_USER}
The output follows:
{
    "Username": "jsmith",
    "UserAttributes": [
        {
            "Name": "sub",
            "Value": "55ddc31e-b818-4136-8fb8-84cfb31af537"
        },
        {
            "Name": "custom:roles",
            "Value": "authp/admin|authp/user"
        },
        {
            "Name": "custom:timezone",
            "Value": "America/New_York"
        },
        {
            "Name": "email_verified",
            "Value": "true"
        },
        {
            "Name": "name",
            "Value": "John Smith"
        },
        {
            "Name": "email",
            "Value": "jsmith@authcrunch.com"
        }
    ],
    "UserCreateDate": "2022-04-23T17:12:05.282000+00:00",
    "UserLastModifiedDate": "2022-04-23T17:30:43.896000+00:00",
    "Enabled": true,
    "UserStatus": "CONFIRMED"
}
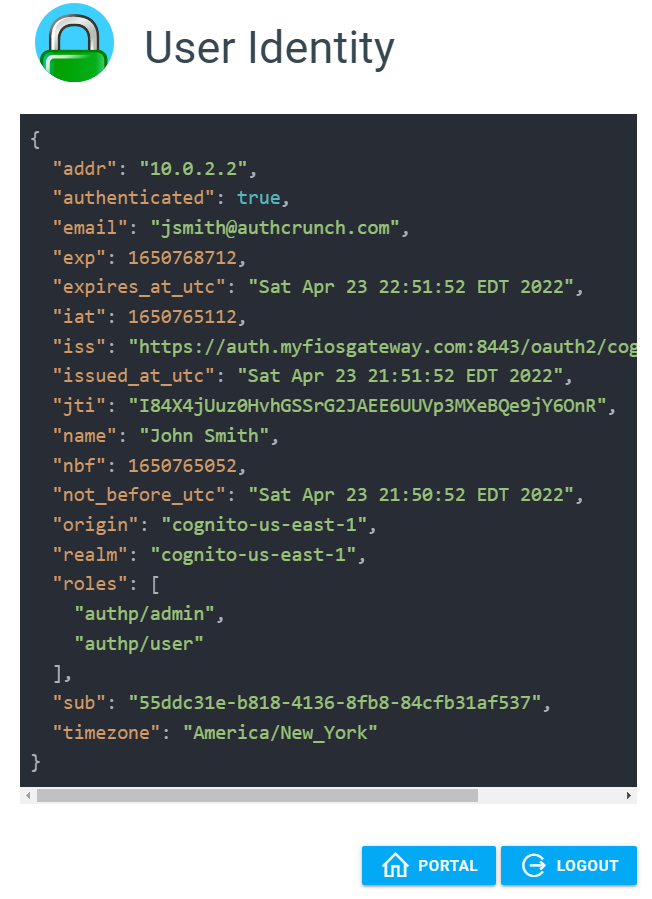
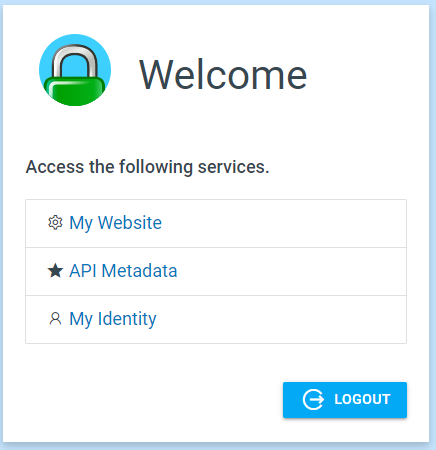
User Login
Finally, start Caddy and browse to authentication portal. Click "AWS Cognito US" link to initiate authentication.
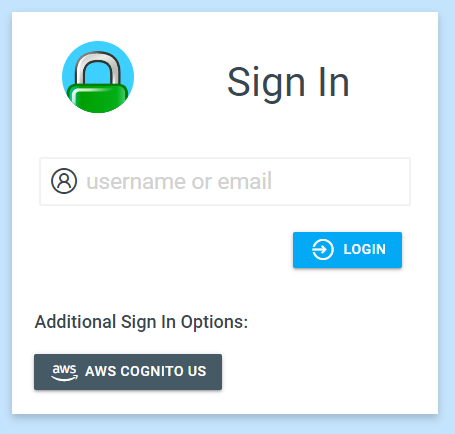
You will be redirected to AWS Cognito for authentication.
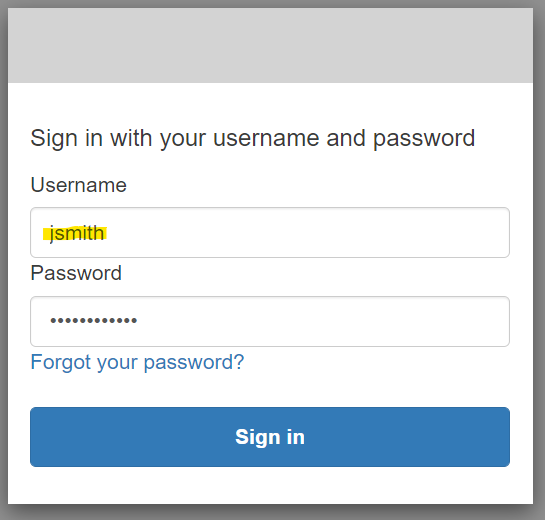
You will be redirected back to authentication portal after successful authentication. Click "My Identity" to see the contents of your user token.
The token will contain your name email. However, the custom roles and timezone will not be there.